

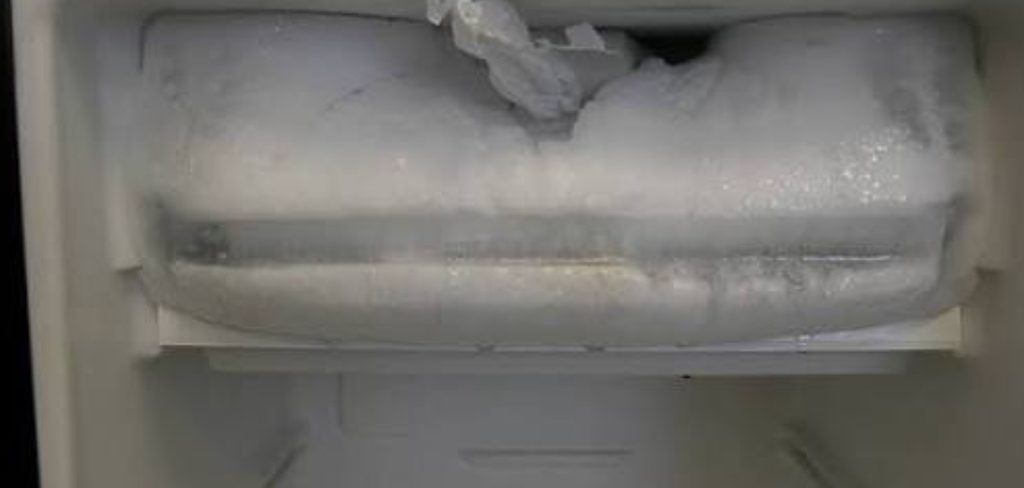
Frost buildup in your freezer is one of those quiet problems that sneaks up on you. One day the shelves look fine, and the next you are wrestling with a thick layer of ice around the drawers and walls. That frost does more than look messy. It steals storage space, forces your appliance to work harder, and can even shorten its lifespan. Learning how to remove frost from freezer units the right way saves you money, protects your food, and keeps everything running smoothly.
The good news is that you do not need special tools or technical skills to fix this. With a little time and the right steps, anyone can clear away frost safely and prevent it from coming back. This guide walks you through the whole process in plain language, so you feel confident from start to finish. Whether you have a chest freezer, an upright model, or a fridge-freezer combo, the approach stays simple and beginner-friendly. Let us clear that ice out for good.
Why Removing Frost From Your Freezer Matters
Frost is not just an eyesore. When ice builds up, it acts like an insulating blanket that makes your freezer struggle to hold the right temperature. That means the motor runs longer and your energy bills climb higher than they need to.
Thick frost also eats into your usable space, so those bags of vegetables and frozen meals no longer fit. Over time, heavy ice can warp seals, jam drawers, and put extra strain on the compressor. Clearing frost regularly keeps your food fresher, your appliance more efficient, and your grocery budget under control. A clean, frost-free freezer simply works better and lasts longer, giving you fewer headaches and more room for the things you actually want to store.
Step-by-Step Guide to How to Remove Frost From Freezer
Follow these seven steps in order and you will have a spotless, ice-free freezer in no time. Take your time with each stage, and keep a few towels handy because melting ice can get messy.
Step 1: Empty And Sort Your Food
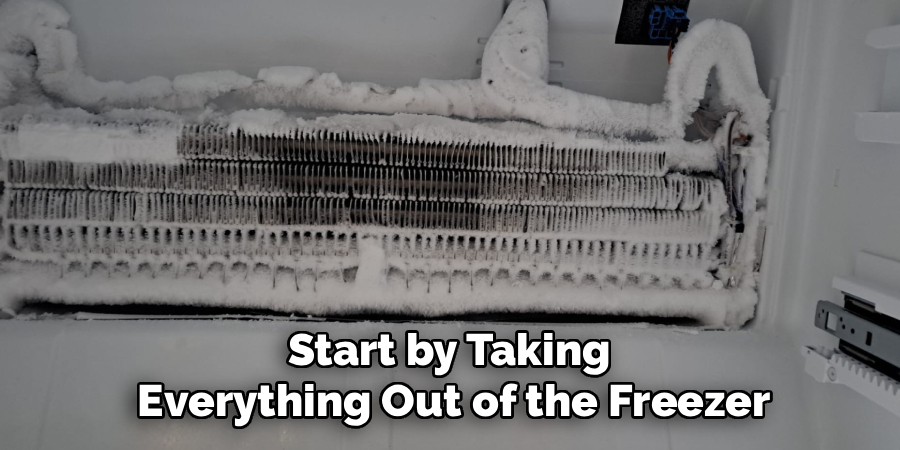
Start by taking everything out of the freezer so you have a clear space to work with. Sort items into groups as you go, checking for anything expired or freezer-burned that you can toss. Place the food you want to keep into a cooler or insulated bags with ice packs to stay frozen while you work. If the weather outside is cold, a garage or shaded porch can work as temporary storage too. Emptying the freezer first protects your food and gives you full access to every frosty corner. This small bit of prep makes the entire job faster and far less stressful later on.
Step 2: Unplug The Appliance For Safety
Before you touch any ice, unplug the freezer from the wall or switch off its circuit at the breaker. This is a non-negotiable safety step that protects you from electrical shock and stops the appliance from fighting your defrosting efforts. Running a freezer while it defrosts wastes energy and slows everything down. If your unit has a defrost setting, you can use it, but cutting the power completely gives you the cleanest results. Leave the door wide open so warm room air can circulate inside. This simple action begins loosening the frost naturally and sets you up for the melting steps that follow.
Step 3: Learning Freezer Walls Gently
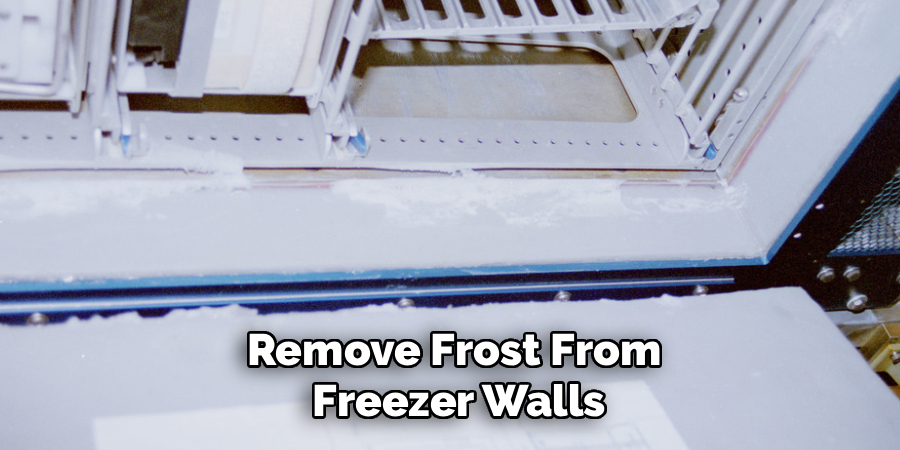
Now comes the part where you actually tackle the ice, and knowing how to remove frost from freezer walls without damage matters a lot. Never grab a knife or sharp metal scraper, since those can puncture the lining or gas lines hidden behind it. Instead, let the frost soften on its own first, then use a plastic scraper or a wooden spatula to ease chunks away. Work slowly from the top down, applying light pressure so the ice releases in sheets rather than stubborn crumbs. Patience here protects your appliance and prevents costly repairs. If a piece will not budge, give it more time to melt rather than forcing it free.
Step 4: Speed Up Melting With Warm Water
To move things along, fill a few bowls with hot water and place them on the shelves, then close the door for ten minutes. The steam rising from the water loosens frost quickly and safely. You can also soak a cloth in warm water and press it against thicker patches of ice until they soften. Some people set a fan near the open door to push warm room air across the surfaces, which speeds evaporation. Avoid using a hairdryer or heat gun directly on the interior, since intense heat can crack plastic parts. Gentle warmth does the job well without risking any damage to your freezer.
Step 5: Freezer Drawers And Seals
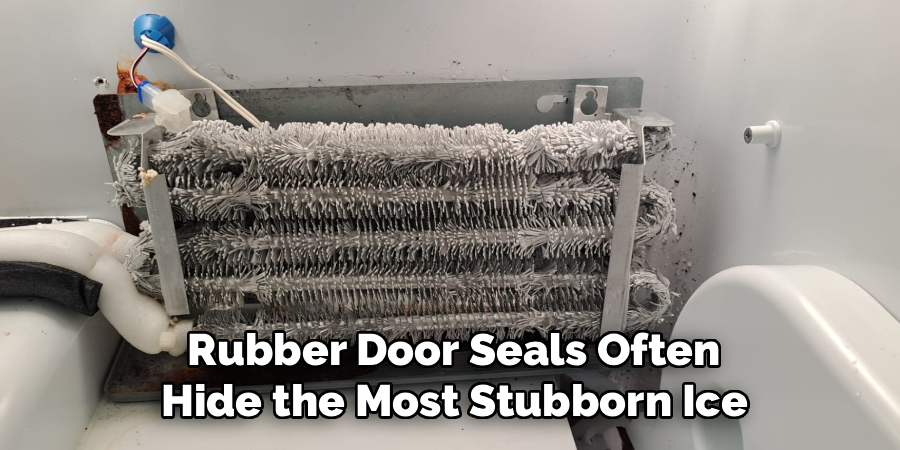
The drawers, trays, and rubber door seals often hide the most stubborn ice, so understanding how to remove frost from freezer components in these tight spots keeps everything working. Slide out any removable bins and let them thaw in the sink with a splash of warm water. For the seals, dampen a soft cloth and hold it against the frozen gasket until the ice melts, then wipe the rubber clean. Never yank frozen drawers free, because brittle plastic can snap in the cold. Give each part enough time to loosen naturally. Clean seals close tightly and block warm air from sneaking in, which stops frost from forming so fast next time.
Step 6: Dry Every Surface Thoroughly
Once all the frost has melted, mop up the water with towels and sponges so no puddles remain. Wipe down the walls, shelves, drawers, and door with a clean, dry cloth until everything feels completely moisture-free. Any leftover dampness will refreeze the moment you power the unit back on, undoing your hard work. Pay extra attention to corners and grooves where water likes to hide. For a fresh finish, you can wipe surfaces with a mix of warm water and a little baking soda, then dry again. A bone-dry interior is the secret to a longer-lasting, frost-resistant freezer that stays clean for weeks.
Step 7: Restart, Restock, And Prevent Future Frost
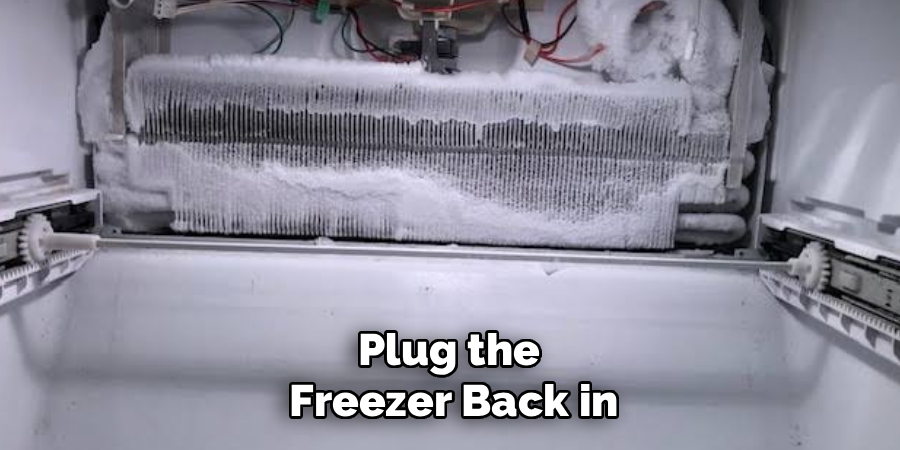
Plug the freezer back in and let it reach the correct temperature, usually around zero degrees Fahrenheit, before returning your food. This takes anywhere from thirty minutes to an hour depending on the model. Once it feels cold again, restock your items in an organized way so air can circulate freely. To keep frost from creeping back, avoid leaving the door open too long and make sure the seals close tightly every time. Checking for warm-air leaks now and then goes a long way. With these habits in place, you will spend far less time defrosting and far more time enjoying a smoothly running freezer.
Frequently Asked Questions
How Often Should I Defrost My Freezer?
Most manual-defrost freezers benefit from a cleanout every three to six months, though it really depends on how quickly ice builds up. Once frost reaches about a quarter inch thick, it is time to act. Frost-free models handle this automatically, so you rarely need to step in. Keeping an eye on ice levels helps you defrost before buildup gets out of hand.
Can I Use A Hairdryer To Speed Things Up?
You can, but proceed with caution. A hairdryer on a low, cool setting held well away from the surfaces may help soften ice faster. However, direct high heat can crack plastic liners or warp seals, and mixing electricity with melting water creates a shock risk. Bowls of hot water or a fan usually offer a safer, gentler result without any of those hazards.
Why Does Frost Keep Coming Back So Quickly?
Frost returns fast when warm, humid air sneaks into the freezer. Common culprits include worn door seals, leaving the door open too long, or overpacking so air cannot circulate. Placing warm food inside adds moisture too. Check your gaskets for gaps, keep the door shut tight, and let hot leftovers cool before freezing. These small fixes dramatically slow how quickly ice forms.
Is It Safe To Scrape Ice With A Knife?
No, using a knife or any sharp metal tool is risky. You could puncture the interior lining or hidden refrigerant lines, leading to expensive repairs or a ruined appliance. Metal also increases the chance of injury as you push against hard ice. Always reach for a plastic scraper or wooden spatula, and let the frost soften first so it lifts away with gentle pressure.
How Long Does The Whole Defrosting Process Take?
Timing varies with the amount of frost and your method. A lightly iced freezer might clear in about an hour, while a heavily frosted unit can take three to four hours or more. Speeding things up with warm water and good airflow shortens the wait. Plan for a half-day window to be safe, and never rush by forcing stuck ice loose.
Conclusion
A frost-free freezer is easier to reach than you might think, and now you have every step you need to get there. From emptying your food and cutting the power to gently melting the ice, drying each surface, and restocking with care, the process is straightforward when you take it one stage at a time. Knowing how to remove frost from freezer surfaces safely protects your appliance, trims your energy costs, and gives you back valuable storage space for the food you love.
The real win comes from prevention. By keeping your seals tight, avoiding long door openings, and checking ice levels regularly, you will spend far less time defrosting in the future. Do not wait until frost takes over your shelves. Set aside an afternoon this week, grab your towels and a plastic scraper, and give your freezer the fresh start it deserves. Your future self, and your grocery budget, will thank you for it.

About
Ethan Wrenford is a dedicated home appliance specialist with years of hands-on experience in appliance troubleshooting, maintenance, repair, and DIY diagnostics. His professional focus lies in combining practical repair knowledge with simple, easy-to-follow solutions, helping homeowners understand common appliance problems and confidently identify potential causes at home. As an author at ApplianceWhy, Ethan shares practical knowledge on home appliance repair, DIY appliance diagnostics, maintenance, troubleshooting, appliance care, and everyday solutions for common household appliance issues.
Education
Portland Community College (Portland, USA)
Associate Degree in Appliance Technology & Residential Systems
- Focused on residential appliance systems, electrical fundamentals, mechanical components, and appliance troubleshooting.
- Developed practical skills in appliance diagnostics, component testing, electrical safety, and repair procedures.
- Gained hands-on experience working with refrigerators, washing machines, dryers, dishwashers, ovens, ranges, and other household appliances.
Oregon Institute of Technology (Klamath Falls, USA)
Bachelor’s in Applied Electronics & Technology
- Specialized in electrical systems, electronic controls, sensors, motors, and residential equipment.
- Studied diagnostic techniques for identifying electrical, mechanical, and component-related appliance problems.
- Completed practical projects involving appliance control systems, troubleshooting methods, preventive maintenance, and repair fundamentals.
Publications and Impact
Through ApplianceWhy, Ethan shares practical insights into home appliance repair, DIY diagnostics, maintenance, troubleshooting, and appliance care. His writing focuses on turning confusing appliance problems into simple, understandable steps that homeowners can follow safely.
Ethan covers everything from diagnosing a refrigerator that is not cooling and a washing machine that will not drain to troubleshooting dryers, dishwashers, ovens, microwaves, and other common household appliances. His content helps readers understand appliance symptoms, identify possible causes, perform basic diagnostic checks, and determine when professional repair may be necessary.
Through his work, Ethan aims to bridge the gap between professional appliance repair knowledge and everyday homeowners—making appliance troubleshooting more approachable, practical, and accessible to everyone who wants to diagnose smarter, maintain better, and keep their appliances running longer.