

A clogged garbage disposal has a way of choosing the worst moments to act up.
You’re halfway through rinsing dishes when the water stops draining, and suddenly the sink fills with a cloudy pool that just sits there, mocking you. It’s messy. It smells.
And it never happens when you have time to deal with it. Here’s the part most people don’t expect, though: you almost certainly don’t need a plumber to sort it out.
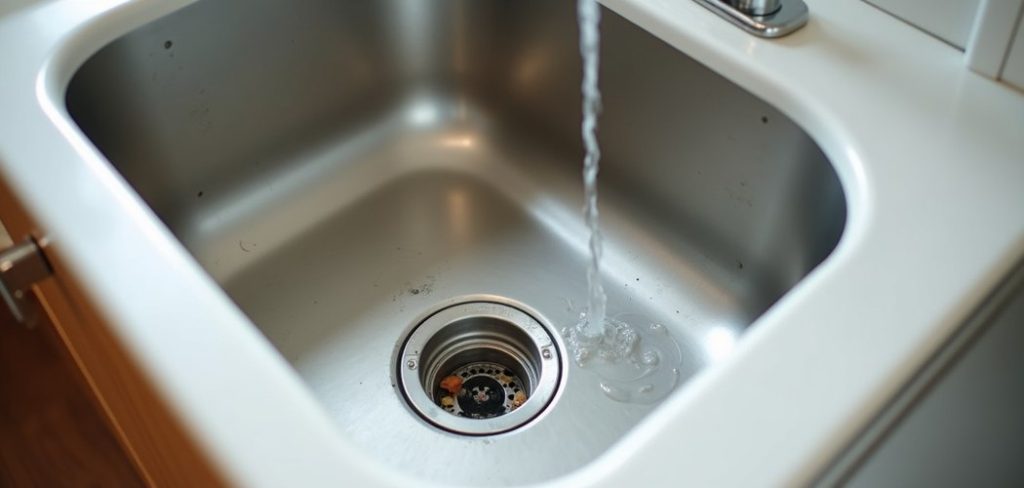
The majority of clogs come loose with a few household tools and a bit of patience.
This guide on how to unclog a garbage disposal walks through what actually causes disposals to jam, the warning signs worth paying attention to, and a seven-step method for clearing yours without hurting yourself or the unit.
Along the way, we’ll look at the mistakes that make things worse, a handful of prevention habits, and the point at which calling a professional stops being optional.
Why Does a Garbage Disposal Get Clogged?
Disposals were designed for scraps, not for whatever happens to be left on your plate. That distinction matters more than most people realize. Trouble tends to start when the wrong things go down the drain.
Fibrous stuff like celery strings and corn husks can wrap around the blades. Starchy leftovers such as pasta and rice swell up with water.
Grease, coffee grounds, and eggshells each cause problems in their own way, either hardening inside the pipes or clumping into a paste that refuses to move.
There’s a quieter cause, too, one that gets overlooked. Running the disposal without enough water.
Water does the actual work of carrying food particles through the system, and skimping on it lets debris settle and accumulate a little more with each use.
Figuring out what’s clogging your disposal isn’t just satisfying curiosity. It tells you how to clear it, and it may keep the same problem from returning next month.

Signs Your Garbage Disposal Is Clogged
A disposal rarely fails without giving you some notice first. These are the signals worth watching for:
- Water draining slowly or pooling in the sink basin
- A foul smell from food scraps trapped and rotting inside
- A humming noise when you flip the switch, but no actual grinding
- The unit refusing to turn on at all
- Water backing up into a second sink basinSpotting any of these early could spare you a much bigger, messier job later. A slow drain today has a habit of becoming a flooded sink by the weekend.
What You’ll Need to Fix a Garbage Disposer
To fix your garbage disposer, you’ll need a few essential tools and materials. These include:
- A new garbage disposal unit (if necessary)
- Plumber’s putty
- A screwdriver
- Adjustable pliers or channel locks
- Allen wrenches (usually included with the disposal unit)
- Teflon tape
- Bucket or large bowl to catch water and debris
Safety Precautions Before Unclogging
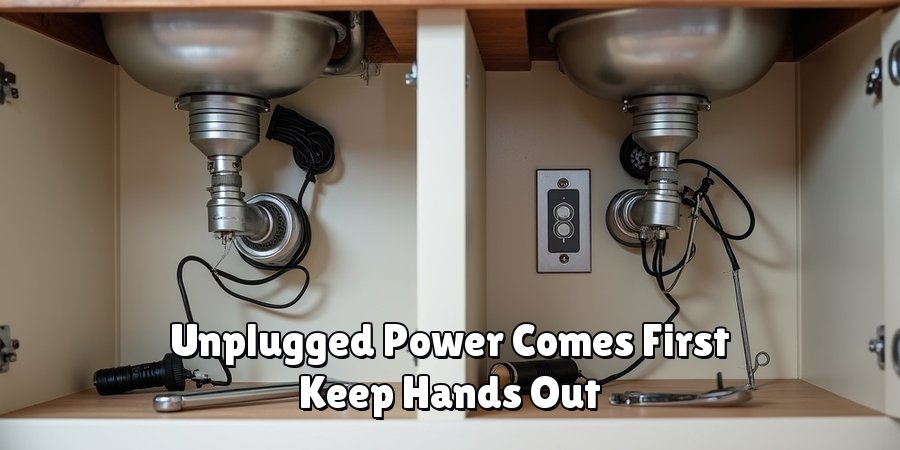
Before anything else, deal with the power. Switch off the disposal and unplug it from the outlet underneath the sink. If yours is hardwired rather than plugged in, find the matching breaker and flip it.
This part isn’t negotiable.And here’s the rule that matters most: keep your hand out of the disposal chamber. Always.
Even with the power cut and the breaker off, the blades are sharp enough to do serious damage, and it only takes a split second for something to go wrong.
Reach for the tongs or pliers instead. Your fingers will thank you.
7 Simple Steps on How to Unclog a Garbage Disposal
Step 1: Cut the Power
Turn the disposal off and unplug it before you touch anything else. Everything else depends on this. Give the switch a test to confirm you’ve killed the power. No lights, no hum, no movement of any kind.
Step 2: Inspect the Disposal
Take your flashlight and peer down into the chamber from above. Sometimes the culprit is obvious right away: a stray spoon, a chicken bone, a wad of food that got packed in too tight. Knowing what you’re dealing with shapes how you handle the next few steps.
Step 3: Remove Visible Debris
With your pliers or tongs, gently work out whatever you can see and reach. Go slowly here. Shoving debris around risks pushing it deeper, which defeats the purpose. And, once more, no hands in the chamber at any point.
Step 4: Manually Turn the Blades
Look for the hex-shaped hole on the underside of the unit. Slot your Allen wrench in and work it back and forth. This loosens jammed blades and breaks up whatever’s wedged in there. You’ll notice the mechanism start to give, moving more freely as the obstruction breaks apart.
Step 5: Use a Plunger
Still pooling? Set a plunger over the drain opening. Run in a few inches of water to seal the plunger against the sink, then push down firmly several times in a row. That burst of pressure can shift clogs sitting further down the pipe, past where the wrench can reach.
Step 6: Try Baking Soda and Vinegar
For anything that lingers, particularly the greasy stuff and the odors that come with it, pour half a cup of baking soda into the drain and chase it with a cup of vinegar.
Let it fizz and foam for ten or fifteen minutes, then rinse it all through with hot water. The reaction helps break down grease and residue without the harshness of a chemical cleaner.

Step 7: Restore Power and Test
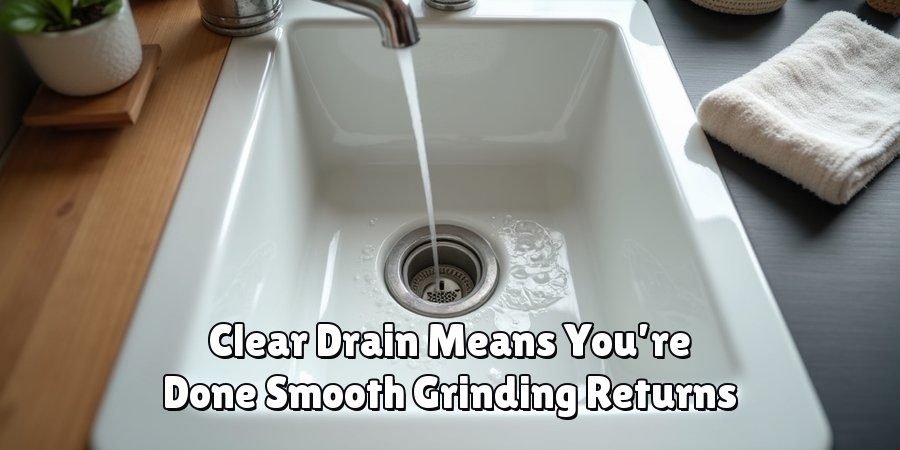
When the clog seems gone, plug the disposal back in and restore the power. Turn on the cold water, flip the switch, and let it run for a few seconds. Smooth grinding and a clear drain mean you’re done. That satisfying whir is the sound of a job finished.
Work through these steps on how to unclog a garbage disposal in order. In my experience, most clogs give up long before you reach the last step, so don’t assume you’ll need all seven.
Common Mistakes to Avoid
The single most dangerous habit is reaching into the disposal by hand. It’s dangerous with the power off, and it’s rarely even necessary once you have tongs nearby.
Right behind it sits another frequent slip-up: reaching for chemical drain cleaners.
Those products may corrode your pipes and eat away at the disposal’s internal parts, and what started as a minor clog can turn into a repair bill that stings.Water is where a lot of people go wrong, too.
Skimping on cold water during and after grinding lets grease do its worst. Hot water melts that grease, sure, but it just re-solidifies deeper in the pipes where you can’t easily reach it.
One more thing: don’t overload the unit. Feed scraps in a bit at a time, and give the disposal a moment to finish grinding before you add the next batch.
How to Prevent Garbage Disposal Clogs?
Stopping clogs before they form takes far less effort than clearing them after the fact.
Run cold water before, during, and after every use, and keep it going for a few seconds once the grinding stops.
Steer clear of the usual troublemakers, grease and coffee grounds especially, along with pasta, rice, bones, and stringy vegetables.
When you’re not sure whether something belongs in the disposal, the trash or compost bin is the safer bet.A little upkeep helps as well.
Once a week or so, drop in a few ice cubes and let the disposal grind them. It clears out buildup and helps keep the blades in shape.
Follow that with the baking soda and vinegar routine to stay ahead of odors. None of this takes long, and the payoff is a disposal that keeps working, year after year, without much fuss.
When to Call a Professional?
Not every clog surrenders to a home fix, and there’s no shame in that.
If you’ve made it through all seven steps and the disposal still won’t drain, won’t hum, or won’t switch on, the trouble may run deeper.
That could point to a plumbing issue further down the line, or a mechanical fault inside the unit itself.
Leaks pooling under the sink are another sign that warrants a professional’s eye.When you’re genuinely unsure, don’t gamble on it.
A licensed plumber can pin down the problem quickly and safely, with tools built for exactly that.
Pushing ahead with a complicated repair on your own could void the warranty or, worse, lead to water damage that costs far more than the service call would have.
If the basics haven’t worked, bringing in an expert is simply the smarter play.
Frequently Asked Questions
Can I Use Drain Cleaner in My Garbage Disposal?
It’s best not to. Chemical drain cleaners can corrode the pipes and damage the internal components of the unit. A safer route is the baking soda and vinegar method, or a plunger, either of which clears most blockages without putting your plumbing at risk.
Why Is My Garbage Disposal Humming but Not Working?
That humming usually points to jammed blades. Cut the power first, then fit an Allen wrench into the hex hole on the underside of the unit and turn it to work the blades loose. Once they move freely, restore the power and give it a test.
How Often Should I Clean My Garbage Disposal?
Roughly once a week is a sensible target. Grinding ice cubes clears debris and helps with the blades, while baking soda and vinegar keep odors in check. Staying consistent with this tends to prevent buildup before it has a chance to turn into a clog.
Conclusion
Unclogging a garbage disposal looks more daunting than it really is.
With the right tools on hand, a careful approach, and these seven steps on how to unclog a garbage disposal, most clogs clear in under an hour.
What matters is working safely, sidestepping the common mistakes, and keeping your hands well away from the blades.
A couple of small habits, cold water and a bit of restraint about what goes down the drain, will head off most clogs before they even begin.
And on those occasions when a blockage simply won’t move no matter what you try, calling in a professional is nothing to feel bad about.
A little attention now is what keeps the kitchen running smoothly tomorrow.

The Appliance Why team — a small group who would rather take the back panel off than pay a call-out fee. We write the repair guides we wish we had found ourselves, test the fixes on our own machines, and say plainly when something is not worth repairing.