

You wash a load, wait for the cycle to finish, and pull out what should be clean laundry. Instead, your dark jeans look dusted in gray fuzz. Annoying, right? That fuzz is lint, and it tends to appear at the worst moments—usually on the one outfit you actually wanted to wear.
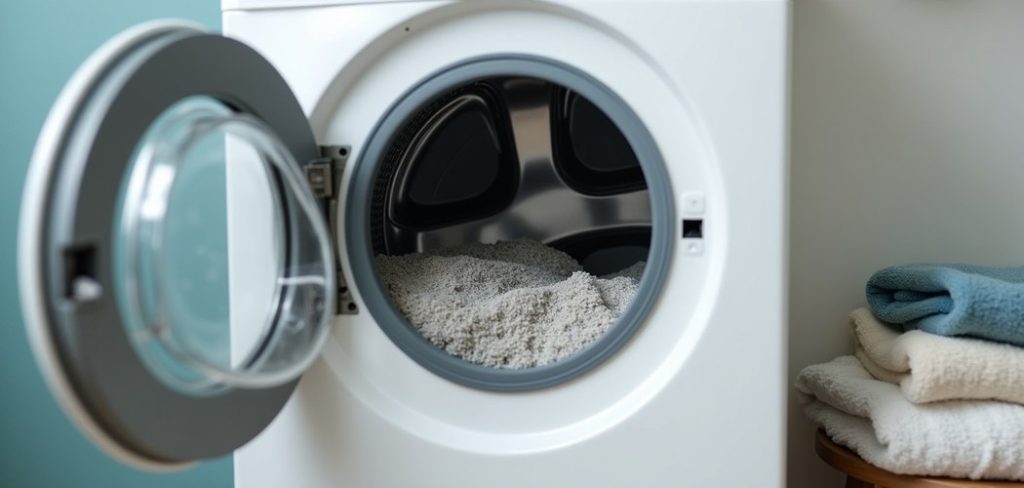
Here’s the reassuring part. Clearing lint out of a washing machine takes less effort than most people assume.
Grab a few things you already keep under the sink, set aside about half an hour, and your machine can go back to doing its job properly.
Below, I’ll explain where lint comes from, the spots it likes to hide, and seven steps that clear it out. In this guide on how to remove washer lint, I’ll show you how to keep your clothes clean and fresh without any pesky lint.
Why Is There Lint in My Washing Machine?
Lint is really just tiny fibers that come loose from your clothes while they tumble around. Fabric rubs against fabric, threads work their way free, and off they float into the wash water.
Towels shed a lot. So does fleece, and cotton isn’t far behind. That’s why a load of bath towels seems to generate its own fuzz cloud.
Most of the time your machine rinses these fibers away without any drama. The trouble starts slowly.
A little lint stays behind instead of draining, then a little more, and eventually you’ve got a soft mat of it lurking somewhere inside.
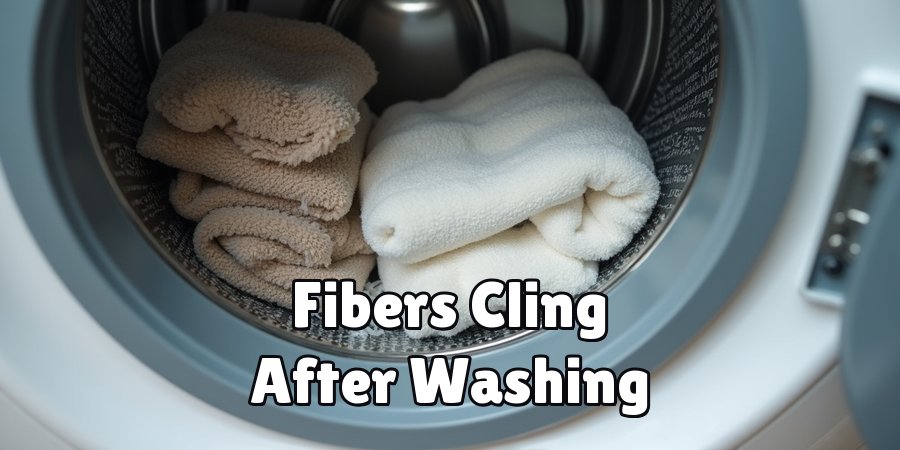
Left alone, that buildup may cling to your clothes, and in worse cases it could contribute to clogs, lingering smells, and drainage that slows to a crawl.
Where Does Lint Collect in a Washing Machine?
A few spots tend to be the usual suspects. Most machines come with a lint filter or trap, and where it lives depends on the design.
Top-loaders often tuck theirs inside the agitator column or clip it along the upper rim of the drum. Front-loaders usually keep the filter near the drain pump, behind a small panel down low.
The filter isn’t the whole story, though. Lint also settles into the rubber door seal, works its way into the little grooves of the drum, and collects along the drain hose.
People miss these spots constantly, which is a shame, because that’s frequently where the nastiest buildup hides. Once you know where to look, the whole job gets quicker.
What You’ll Need
You probably won’t need a shopping trip for this. Most of these items are already floating around your home somewhere.
Tools
Materials
- A soft cloth or microfiber towel
- An old toothbrush or small scrub brush
- A bucket or basin
- Rubber gloves
- A screwdriver (only if your filter sits behind a panel)
- White vinegar
- Baking soda
- Warm water
- Mild dish soap
7 Simple Steps on How to Remove Washer Lint
Step 1: Unplug and Prepare the Machine
Start with safety. Pull the plug from the outlet before you touch anything else. If there’s a water supply valve within reach, shut that off too. Lay a towel down at the base of the machine to soak up any water that decides to escape mid-clean.
Step 2: Locate the Lint Filter
Dig out your owner’s manual and check where the filter actually sits, since manufacturers rarely agree on this. On top-loaders, look inside the agitator column or along the drum’s edge. On front-loaders, hunt for a small access panel near the bottom front, usually hidden behind a flap.

Step 3: Remove and Clean the Filter
Ease the filter out gently. Brace yourself, because what comes with it can be a little grim—a wet mat of trapped lint and grime that’s been building for a while.
Rinse it under warm running water, then take your toothbrush to the stubborn bits.
If it’s really caked on, let the filter soak in warm water and a squirt of dish soap for ten minutes or so.
Step 4: Clean the Drum and Door Seal
Run a damp microfiber cloth around the inside of the drum. The rubber door seal on front-loaders deserves extra attention, since lint and grime seem to love wedging themselves into its folds. Peel the seal back with care and wipe out the crevices you find underneath. This is often grosser than people expect.
Step 5: Run a Cleaning Cycle With Vinegar
Pour two cups of white vinegar straight into the empty drum, then start a hot water cycle with nothing inside. The vinegar goes to work on residue, cuts through soap scum, and helps flush out loose lint that’s clinging to spots your cloth can’t reach.
Step 6: Add Baking Soda for a Deeper Clean
When the vinegar cycle wraps up, scatter about half a cup of baking soda into the drum and run a second hot cycle. Baking soda handles odors and helps lift whatever buildup the vinegar managed to loosen but didn’t fully carry away.

Step 7: Reassemble and Wipe Down
Slot the clean, dry filter back where it belongs and refasten any panels you unscrewed. Give the outside of the machine a quick wipe while you’re at it. Plug the washer back in, and your next load should come out lint-free.
Got everything together? Work through these steps on how to remove washer lint in order. Skipping ahead tends to leave you doubling back.
Common Mistakes to Avoid
The single biggest error? Ignoring the filter completely because you assume the machine handles it on its own. It doesn’t.
A neglected filter is far and away the main reason lint piles up and starts hitching a ride on your clothes.
Harsh chemical cleaners cause their own trouble too—they may look effective, but they can slowly degrade rubber seals and internal parts.
Then there’s overloading, which sneaks up on people. Stuff too much into one load and the fabrics grind against each other harder, shedding more fibers in the process.
A simple fix helps here: wash your lint-heavy items, like towels, apart from smoother synthetics. That one habit alone can noticeably cut the amount of fuzz ending up in your machine.
When Lint Buildup Indicates a Bigger Problem?
Sometimes lint that just won’t quit is a symptom of something deeper. If you’re cleaning the machine on schedule and still finding heavy residue, the drain hose or pump could be partially blocked.
Water that drains slowly, standing water in the drum, or a musty smell that refuses to leave—any of these may suggest the problem runs past the filter.
Ongoing issues can also point to a pump on its way out, or a filter so worn it no longer traps debris the way it should.
When basic cleaning doesn’t fix things, calling a technician is the sensible move.
Spotting these signs early could spare you a hefty repair bill, or worse, a flooded laundry room some morning you didn’t see coming.
How Often Should You Clean Washer Lint?
For a typical household, giving the lint filter a monthly clean keeps things in check. Wash a lot of towels, pet bedding, or fleece? Then a check every couple of weeks makes more sense. Homes churning through big laundry loads simply produce more lint, so the extra attention earns its keep.
The filter isn’t the end of it, either. Try to run a full vinegar-and-baking-soda cleaning cycle somewhere between every one and three months. This kind of upkeep does double duty: cleaner clothes now, and a machine that tends to last longer down the line. Modest effort today, fewer headaches later.

Frequently Asked Questions
Can Lint Damage My Washing Machine?
Yes, it can. As lint accumulates, it may clog the drain hose and pump, which leads to sluggish drainage and, in bad cases, water damage. That kind of strain could shorten your machine’s working life and make it run less efficiently long before its time.
Does Every Washing Machine Have a Lint Filter?
Not necessarily. Plenty of newer washing machines rely on a self-cleaning pump filter rather than a removable lint trap you can pull out and rinse. Your owner’s manual is the quickest way to confirm whether your model has one and, if so, where the manufacturer decided to put it.
Will Cleaning My Washer Stop Lint on My Clothes?
Usually, yes. A good clean removes the trapped fibers that would otherwise transfer onto your fabrics. Pair that with smarter laundry habits—sorting your loads properly and resisting the urge to overload—and your clothes should come out looking considerably cleaner.
Conclusion
A lint-free washing machine gives you cleaner clothes, fewer clogs, and a machine that holds up longer. Clean the filter on a regular schedule, run the occasional vinegar cycle, and you head off buildup before it turns into a genuine problem. These small routines add up to a real difference in how your washer performs.
So set yourself a monthly reminder to check the lint filter, and don’t brush off the warning signs when something feels off.
A bit of routine care means less time picking fuzz off your favorite jeans and more time actually enjoying laundry that comes out fresh. Thanks for reading this guide on how to remove washer lint.

The Appliance Why team — a small group who would rather take the back panel off than pay a call-out fee. We write the repair guides we wish we had found ourselves, test the fixes on our own machines, and say plainly when something is not worth repairing.