

Your dishwasher spends its days scrubbing plates clean. But when did you last return the favor? I’m not talking about the racks or the filter.
I mean the rubber seals lining the door—those thin strips most people never think to touch. They sit there quietly, gathering food specks, moisture, and a film of grime that builds up load after load.
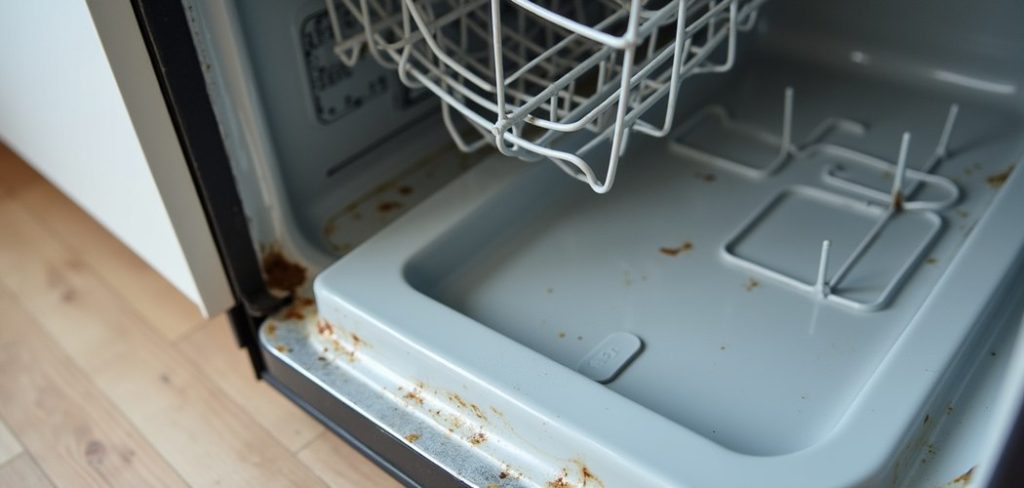
Ignore them long enough, and things get unpleasant. Mold takes hold. Mildew follows.
Before lon,g you’re dealing with a sour smell, dishes that come out less than sparkling, and possibly a slow leak that could warp the floor beneath your machine. None of that is inevitable, though.
A quick clean, some things you probably already own, and about fifteen minutes are all it takes.
This guide on how to clean dishwasher seals covers the whole job. You’ll find out what these seals actually do, which supplies to pull together, and the exact eight steps that get them clean.
I’ve thrown in the mistakes people tend to make, plus answers to a few questions that come up often.
Stick with it, and you’ll end up with a fresher dishwasher that lasts longer—and better-looking dishes in the bargain.
Understanding Dishwasher Seals
Dishwasher seals—gaskets, if you want the technical term—are the bendable rubber strips running along the door edges and around the tub. They do one thing, and they do it well: they form a watertight barrier.
Close the door, and the seals press flush against each other to hold water inside during a cycle. Take them away, and you’d be mopping up a small flood after every wash.Here’s the catch.
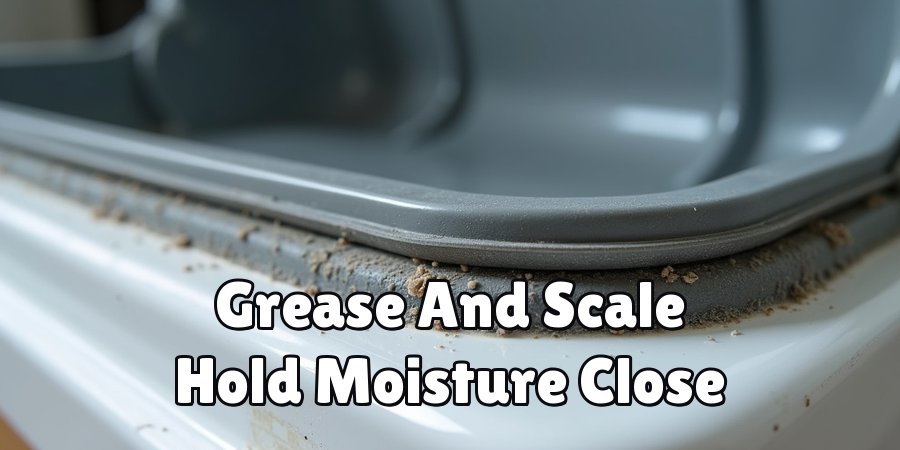
Seals live in a warm, wet spot, which happens to be exactly what buildup loves. Grease clings to them. So does detergent residue, hard water scale, and the odd bit of food that escapes the rinse.
Give it tim,e and that layer of gunk hardens, holding moisture against the rubber—and moisture is what mold and mildew need to move in.
A neglected seal may also stiffen and lose its give, which can lead to cracks or an outright failure. Keeping them clean protects two things at once: how well your dishwasher runs, and whether your kitchen stays dry.
Materials Needed
Round up your supplies first so you’re not hunting mid-job. Chances are most of this is already sitting in a cupboard somewhere.
Cleaning Solutions
- White vinegar
- Baking soda
- Mild dish soap
- Warm water
Tools and Accessories
- A soft microfiber cloth
- An old toothbrush or small scrubbing brush
- A spray bottle
- A small bowl
- Rubber gloves (optional, but your hands will thank you)
- Cotton swabs for the tight corners
8 Simple Steps on How to Clean Dishwasher Seals
Step 1: Turn Off and Empty the Dishwasher
Safety first, always. Cut the power at the source, or pull the plug if the outlet’s within reach.
Take out every dish, rack, and utensil holder so nothing blocks your access to the door and seals.
An empty machine gives you elbow room, and it means no cleaning solution ends up dripping onto plates you’d rather keep clean.
Step 2: Inspect the Seals Closely
Before you clean anything, look. Run your eyes along the rubber around the door and tub, checking for mold, trapped food, discoloration, or cracks.
This tells you where the worst of it hides and which sections deserve extra effort. Spot a large crack or a tear? Make a mental note.
That seal may need replacing down the road, and it’s better to know now.
Step 3: Prepare Your Cleaning Solution
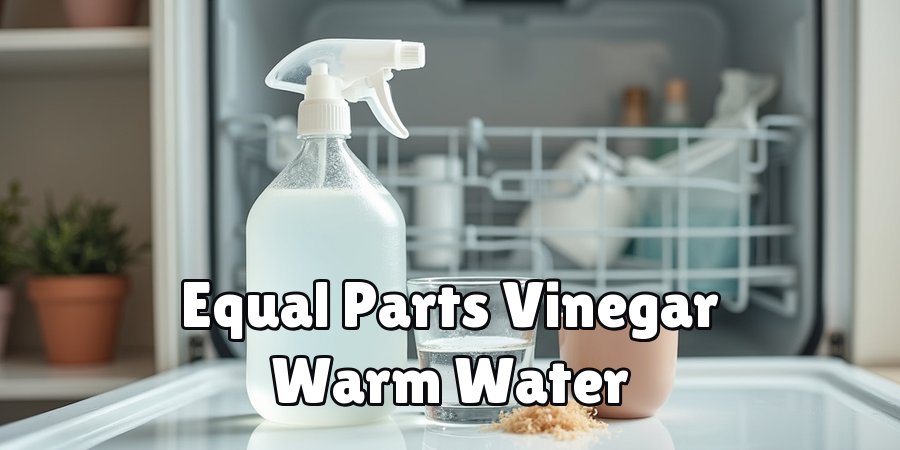
Combine equal parts white vinegar and warm water in your spray bottle. Vinegar disinfects naturally, cutting grease and killing mildew without the fumes of harsher stuff. Dealing with heavier grime? A few drops of mild dish soap in the mix should help. Shake the bottle gently to bring it all together.
Step 4: Wipe Down the Seals
Spray the solution along the seals—be generous. Let it sit for two or three minutes so it can work into the stubborn residue. Then take your microfiber cloth and wipe every stretch of rubber, moving slowly and tracing the grooves where dirt likes to tuck itself away.
Step 5: Scrub the Tight Spots
A cloth won’t reach everything. For the folds and corners, dip your old toothbrush in the solution and scrub. The really cramped spots may call for a cotton swab, which fits where nothing else will. Press firmly, but not so hard that you risk tearing the rubber—you’re lifting buildup, not fighting it.
Step 6: Tackle Mold with Baking Soda
Found mold during your inspection? Mix a little water into some baking soda until you’ve got a paste. Dab it straight onto the affected patches and give it five minutes.
Baking soda works as a gentle abrasive, lifting mold and taking the edge off odors at the same time. Scrub the paste off with your toothbrush, then wipe the area clean.

Step 7: Rinse and Dry Thoroughly
Grab a fresh cloth, dampen it with plain warm water, and go over the seals to clear out any leftover vinegar or baking soda. Don’t skip this.
Residue left sitting can dry the rubber out over time, which is the opposite of what you’re after. Once rinsed, dry every section with a clean cloth.
Moisture is the whole problem here—leave nothing damp behind.
Step 8: Run a Cleaning Cycle
Wrap things up with an empty hot-water cycle. Set a cup of white vinegar on the top rack, or drop in a dishwasher cleaning tablet if that’s what you have.
This flushes loosened debris out of the system and freshens the machine as a whole, not just the seals you’ve been fussing over.
When it finishes, leave the door open a while so everything can air-dry.
Following these steps on how to clean dishwasher seals in order—it makes a difference. Start to finish, you’re looking at fifteen to twenty minutes.
Common Mistakes to Avoid
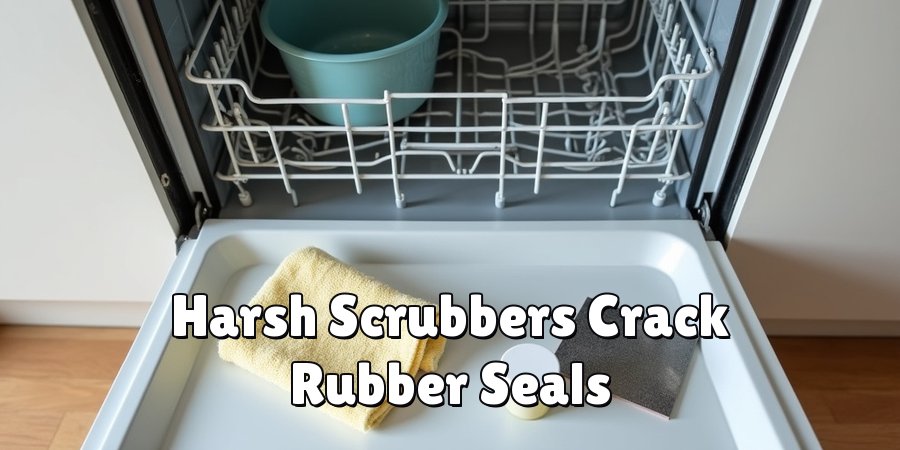
The one that trips up most people? Reaching for bleach or an abrasive scouring pad. These may seem thorough, but they dry out, discolor, and crack the rubber, cutting your seals’ lifespan short. Gentle solutions like vinegar and baking soda do the job without the collateral damage.
Skipping the drying step is another. Leave the seals wet and you’ve undone your own work, because lingering moisture invites back the mold you just scrubbed away.
Then there’s frequency. Plenty of people clean their seals maybe once a year, which barely scratches the surface when those seals meet water and food every single day. Once a month is a far safer rhythm.
And one last thing—don’t wave off the small cracks.
Catching damage early lets you swap a seal for a few dollars, well before it turns into a leak and the kind of water damage that empties your wallet.
Frequently Asked Questions
Q1: How Often Should I Clean My Dishwasher Seals?
A1: Once a month is a good baseline. If your dishwasher runs daily, or if you start catching a whiff of something off, wipe the seals down every couple of weeks instead. Cleaning on a regular schedule keeps mold from settling in and helps the machine work as it should.
Q2: Can I Use Bleach to Clean Dishwasher Seals?
A2: Better not to. Bleach does kill mold, sure, but it’s rough on rubber and can leave your seals dried out and cracking before their time. White vinegar and baking soda clean and disinfect just as well, and they won’t chew up the material in the process.
Q3: What Should I Do If My Seals Are Cracked or Damaged?
A3: Once you spot cracks, tears, or a seal that no longer sits flush against the door, replacement is the move. Look up the correct part number in your dishwasher’s manual, then order a matching gasket. A new one costs little, and it heads off the far pricier leaks a failing seal tends to cause.
Q4: Can I Use Bleach or Other Harsh Chemicals to Clean My Dishwasher Seals?
A4: No, it is not recommended to use bleach or other harsh chemicals on dishwasher seals. These can cause damage and weaken the material, leading to cracks and tears in the seal.
Stick with using natural cleaning agents like white vinegar and baking soda for a safe and effective clean. If there are stubborn stains or build-up, try using a soft-bristled brush with the natural cleaners to gently scrub away any residue.
This will help maintain the integrity and longevity of your dishwasher seals.
Conclusion
Cleaning your seals is a minor chore with an outsized payoff.
Vinegar, baking soda, and a few spare minutes—that’s genuinely all it takes to clear out odors, stop mold before it spreads, and keep your machine sealing the way it’s meant to.
The eight steps on how to clean dishwasher seals above are simple enough that they slot neatly into whatever cleaning routine you already keep.
Try making it a monthly thing, and every so often pair it with a full-machine cleaning cycle for good measure.
Your dishes will come out cleaner, your kitchen will smell better, and you’ll dodge the headache of leaks and repairs entirely.
A bit of upkeep today spares you real cost and hassle later—so track down that old toothbrush and give those seals their due.

About
Ethan Wrenford is a dedicated home appliance specialist with years of hands-on experience in appliance troubleshooting, maintenance, repair, and DIY diagnostics. His professional focus lies in combining practical repair knowledge with simple, easy-to-follow solutions, helping homeowners understand common appliance problems and confidently identify potential causes at home. As an author at ApplianceWhy, Ethan shares practical knowledge on home appliance repair, DIY appliance diagnostics, maintenance, troubleshooting, appliance care, and everyday solutions for common household appliance issues.
Education
Portland Community College (Portland, USA)
Associate Degree in Appliance Technology & Residential Systems
- Focused on residential appliance systems, electrical fundamentals, mechanical components, and appliance troubleshooting.
- Developed practical skills in appliance diagnostics, component testing, electrical safety, and repair procedures.
- Gained hands-on experience working with refrigerators, washing machines, dryers, dishwashers, ovens, ranges, and other household appliances.
Oregon Institute of Technology (Klamath Falls, USA)
Bachelor’s in Applied Electronics & Technology
- Specialized in electrical systems, electronic controls, sensors, motors, and residential equipment.
- Studied diagnostic techniques for identifying electrical, mechanical, and component-related appliance problems.
- Completed practical projects involving appliance control systems, troubleshooting methods, preventive maintenance, and repair fundamentals.
Publications and Impact
Through ApplianceWhy, Ethan shares practical insights into home appliance repair, DIY diagnostics, maintenance, troubleshooting, and appliance care. His writing focuses on turning confusing appliance problems into simple, understandable steps that homeowners can follow safely.
Ethan covers everything from diagnosing a refrigerator that is not cooling and a washing machine that will not drain to troubleshooting dryers, dishwashers, ovens, microwaves, and other common household appliances. His content helps readers understand appliance symptoms, identify possible causes, perform basic diagnostic checks, and determine when professional repair may be necessary.
Through his work, Ethan aims to bridge the gap between professional appliance repair knowledge and everyday homeowners—making appliance troubleshooting more approachable, practical, and accessible to everyone who wants to diagnose smarter, maintain better, and keep their appliances running longer.