

Your tumble dryer works hard to keep your laundry warm, fluffy, and dry. But behind that convenience sits a small yet crucial part that often gets ignored: the condenser. If you own a condenser dryer, this component is the unsung hero of the drying process, and it needs regular care to do its job well.
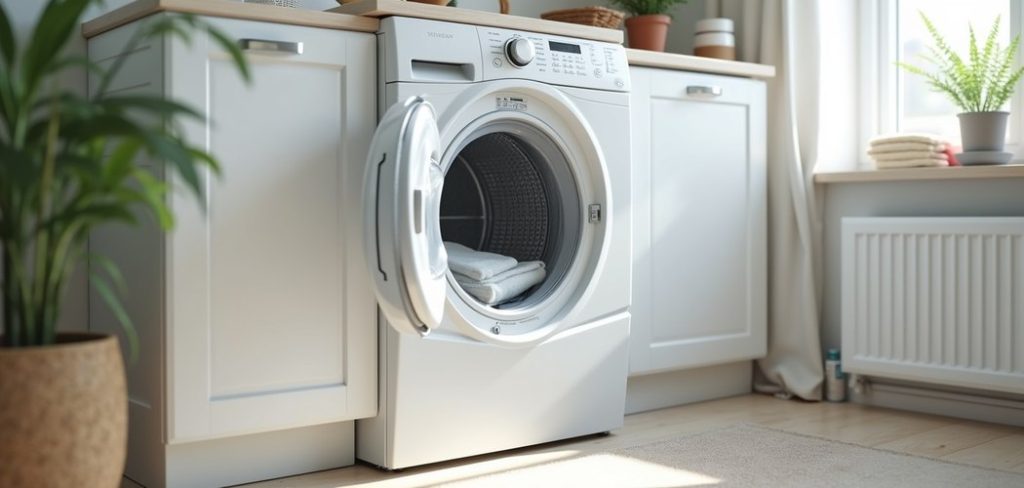
So, what exactly is a tumble dryer condenser? In simple terms, it’s the part that turns the hot, moist air from your drying cycle back into water. Instead of venting warm air outside through a hose, a condenser dryer collects the moisture and stores it in a tank or drains it away.
This guide on how to clean a tumble dryer condenser walks you through everything, from the benefits and supplies to a clear, step-by-step process and helpful tips along the way.
Benefits of Cleaning a Tumble Dryer Condenser
Taking a few minutes to clean your condenser brings real rewards. Here are the key benefits you’ll enjoy:
Simply put, a clean condenser saves you money, time, and stress while keeping your home safe.

- Lower energy bills. A clean condenser lets air move freely, so your dryer uses less power to dry each load. Over a year, those savings add up.
- Faster drying times. When lint blocks the condenser, cycles take longer. A clear unit means your clothes come out dry the first time, every time.
- Longer appliance lifespan. Dirt and clogs put strain on the motor and heating element. Regular cleaning reduces wear and helps your dryer last longer.
- Better drying results. Clothes dry more evenly when airflow is strong. You’ll notice fewer damp patches and less need for a second cycle.
- Improved safety. Lint is highly flammable. Keeping the condenser clean lowers the risk of overheating and fire, protecting your home and family.
- Fewer repair bills. Small maintenance tasks now can save you from costly breakdowns later. A well-kept dryer is far less likely to fail.
- A fresher smell. Trapped moisture and lint can create a musty odor. Cleaning removes the buildup and keeps your laundry smelling clean.
What Will You Need?
Before you begin, gather these simple items. Most of them are things you likely already have at home:
That’s it. No harsh chemicals, no special equipment. With these basics ready, you’re set to start.
- A soft cloth or sponge – for wiping down the condenser and surrounding areas.
- Warm water – to rinse the condenser unit if it’s washable.
- A soft-bristle brush or old toothbrush – to loosen stubborn lint from the fins.
- A vacuum cleaner with a nozzle attachment – to suck up loose fluff from tight spots.
- A towel or absorbent cloth – to catch drips and dry parts before reassembly.
- Rubber gloves – optional, but nice for keeping your hands clean.
- Your dryer’s user manual – handy for locating the condenser and following model-specific advice.
10 Easy Steps on How to Clean a Tumble Dryer Condenser
Follow these ten steps carefully. Take your time, and you’ll have a spotless condenser in no time.
Step 1: Switch Off and Unplug the Dryer
Safety always comes first. Before you touch anything, turn off your tumble dryer and pull the plug from the wall socket. This protects you from any electrical risk while you work.
If your dryer has just finished a cycle, wait at least 30 minutes so the internal parts can cool down. Working on a hot machine can cause burns, and it’s simply not worth the rush.
Once the dryer is off, unplugged, and cool, you’re ready to begin.
Step 2: Locate the Condenser Unit
Every dryer model is a little different, so it helps to know where your condenser lives. On most condenser dryers, you’ll find it behind a small door or panel at the bottom front of the machine.
Check your user manual if you’re unsure. The panel usually pops open with a gentle press or a small latch.
Once open, you’ll see the condenser unit, often a rectangular block with a handle or two locking clips holding it in place.
Step 3: Empty the Water Tank First
Before removing the condenser, empty the water collection tank. This tank holds the moisture your dryer pulls from your clothes. Slide it out gently, pour the water down the sink, and set the tank aside.
Emptying it first prevents spills and makes the whole job cleaner. It’s also a good habit to empty this tank after every cycle, so keep that in mind for future loads.

Step 4: Release and Remove the Condenser
Now, unlock the condenser. Most units have two clips or a rotating handle that hold them securely. Turn the handle or flip the clips to release the unit. Slide the condenser out slowly and carefully.
It may be a bit heavier than you expect, and some water might drip out, so have your towel ready. Support the unit with both hands as you pull it free from the housing.
Step 5: Rinse the Condenser Under Warm Water
Take the condenser to your sink or bathtub. Hold it under warm running water and let the flow push out the trapped lint and fluff.
Turn the unit in different directions so water passes through all the fine metal fins. You’ll see cloudy water and bits of fiber wash away. Keep rinsing until the water runs clear.
Avoid using very hot water or high pressure, as this could damage the delicate fins.
Step 6: Gently Brush Away Stubborn Lint
Some lint clings tightly and won’t rinse off. This is where your soft-bristle brush or old toothbrush comes in handy. Gently brush along the fins to loosen packed debris.
Work in the same direction as the fins to avoid bending them. Be patient and light-handed here.
The fins are thin and can crumple if you press too hard, which would reduce airflow and defeat the purpose of cleaning.
Step 7: Clean the Condenser Housing
While the condenser dries, turn your attention to the empty housing where it sits. Lint often collects in this space too.
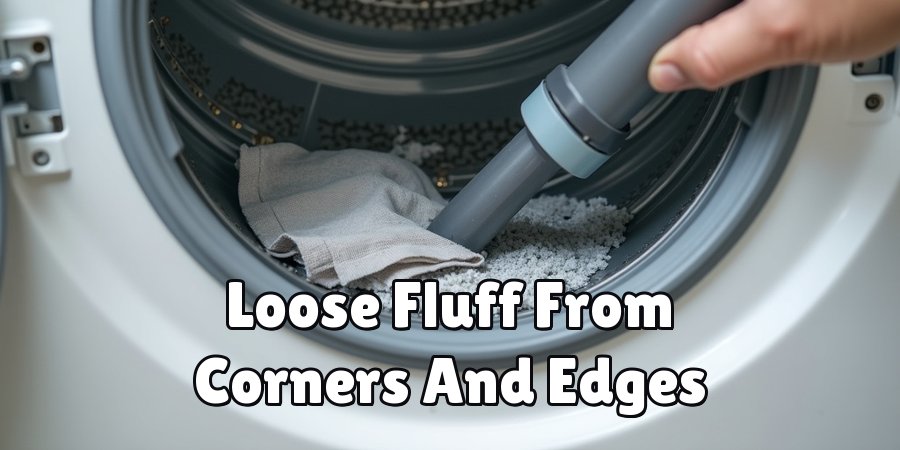
Use your vacuum cleaner with a nozzle attachment to suck up loose fluff from the corners and edges. Then wipe the inside with a slightly damp cloth to catch any remaining dust.
A clean housing ensures the freshly cleaned condenser slides back into a tidy space, keeping airflow at its best.
Step 8: Wipe the Rubber Seals and Door Area
Don’t forget the rubber seals around the condenser door and the surrounding area. These seals keep air flowing correctly and stop moisture from escaping.
Wipe them down with your damp cloth to remove dust and lint. Check for any cracks or damage while you’re there. Clean seals help your dryer run efficiently and prevent leaks.
A quick wipe now saves trouble later.
Step 9: Let Everything Dry Completely
This step matters more than people realize. Before you put the condenser back, make sure it’s fully dry. Placing a wet condenser into the machine can lead to mold, odors, or even electrical issues.
Set the unit on a towel and leave it for a couple of hours, or gently pat it dry with an absorbent cloth. Patience here protects your dryer and keeps things fresh.
Step 10: Reassemble and Test the Dryer
Once everything is dry, slide the condenser back into its housing. Push it in firmly until it sits flush, then lock the clips or turn the handle to secure it.
Replace the water tank and close the front panel. Plug the dryer back in and run a short test cycle to make sure everything works smoothly. You should notice quieter operation and, over time, faster drying.
Congratulations, your condenser is now clean and ready to go.
5 Things You Should Avoid
Even a simple task like this has a few pitfalls. Steer clear of these common mistakes:

- Cleaning while the dryer is plugged in. Always unplug the machine first. Skipping this step risks electric shock and is never worth it.
- Using harsh chemicals or detergents. Stick to warm water. Strong cleaners can corrode the metal fins and damage the condenser over time.
- Pressing too hard on the fins. The thin metal fins bend easily. Bent fins block airflow and hurt your dryer’s performance, so be gentle.
- Putting the condenser back while wet. Moisture leads to mold and bad smells. Always let the unit dry fully before reassembly.
- Forgetting to clean regularly. Waiting months between cleanings lets lint pile up. Set a routine so buildup never becomes a big problem.
Conclusion
How to clean a tumble dryer condenser is one of the easiest and most rewarding maintenance tasks you can do at home. In just 15 to 20 minutes, you’ll boost your dryer’s efficiency, cut your energy bills, and lower the risk of overheating. That’s a lot of benefit for such a small effort.
The key is consistency. By setting a simple routine, cleaning the condenser about once a month, you’ll stop lint from ever becoming a serious problem. Your clothes will dry faster, your machine will run quieter, and your appliance will last longer.
So grab your soft cloth and brush, follow the ten steps above, and give your condenser the care it deserves. A little maintenance today means a safer, smoother, and more affordable drying experience tomorrow. Your future self, and your wallet, will be glad you did.

About
Ethan Wrenford is a dedicated home appliance specialist with years of hands-on experience in appliance troubleshooting, maintenance, repair, and DIY diagnostics. His professional focus lies in combining practical repair knowledge with simple, easy-to-follow solutions, helping homeowners understand common appliance problems and confidently identify potential causes at home. As an author at ApplianceWhy, Ethan shares practical knowledge on home appliance repair, DIY appliance diagnostics, maintenance, troubleshooting, appliance care, and everyday solutions for common household appliance issues.
Education
Portland Community College (Portland, USA)
Associate Degree in Appliance Technology & Residential Systems
- Focused on residential appliance systems, electrical fundamentals, mechanical components, and appliance troubleshooting.
- Developed practical skills in appliance diagnostics, component testing, electrical safety, and repair procedures.
- Gained hands-on experience working with refrigerators, washing machines, dryers, dishwashers, ovens, ranges, and other household appliances.
Oregon Institute of Technology (Klamath Falls, USA)
Bachelor’s in Applied Electronics & Technology
- Specialized in electrical systems, electronic controls, sensors, motors, and residential equipment.
- Studied diagnostic techniques for identifying electrical, mechanical, and component-related appliance problems.
- Completed practical projects involving appliance control systems, troubleshooting methods, preventive maintenance, and repair fundamentals.
Publications and Impact
Through ApplianceWhy, Ethan shares practical insights into home appliance repair, DIY diagnostics, maintenance, troubleshooting, and appliance care. His writing focuses on turning confusing appliance problems into simple, understandable steps that homeowners can follow safely.
Ethan covers everything from diagnosing a refrigerator that is not cooling and a washing machine that will not drain to troubleshooting dryers, dishwashers, ovens, microwaves, and other common household appliances. His content helps readers understand appliance symptoms, identify possible causes, perform basic diagnostic checks, and determine when professional repair may be necessary.
Through his work, Ethan aims to bridge the gap between professional appliance repair knowledge and everyday homeowners—making appliance troubleshooting more approachable, practical, and accessible to everyone who wants to diagnose smarter, maintain better, and keep their appliances running longer.