

That burnt smell reaches you the second you hit preheat. Smoke starts curling out from the door seal, the fire alarm perks up, and you haven’t even slid the tray in yet. Familiar scene?
A smoky oven isn’t just irritating. It can leave your food tasting faintly of scorched grease and fill the kitchen with a haze that lingers for hours.
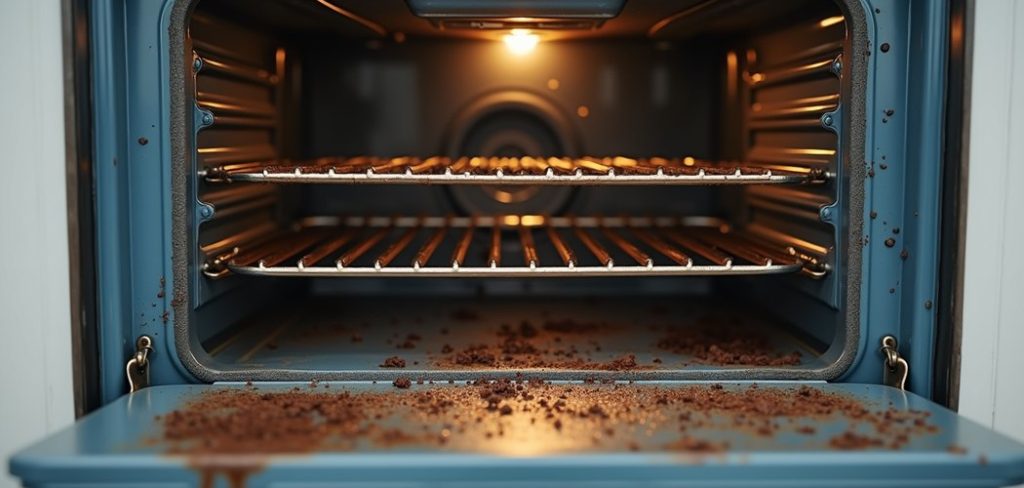
Here’s the reassuring part. Fixing it rarely calls for special gear or eye-watering chemical cleaners. What you’re smelling is almost always old grease and stray bits of food that have slowly baked themselves onto the metal. Give it some time and the right method, and the oven goes back to behaving.
This guide on how to clean a smoky oven walks through why the smoke happens in the first place, what to keep within reach before you begin, and eight steps that actually get results.
I’ll also flag the mistakes people tend to make and offer a rough sense of when paying a professional might be worth it. Let’s clear the air.
Understanding Why Your Oven Smokes
Smoke tends to mean something is burning that shouldn’t be. Usually the offender is grease, a forgotten spill, or crumbs sitting on the oven floor and around the heating elements. Once those bits reach cooking temperatures, they burn and give off smoke. The thicker the buildup, the worse it gets.
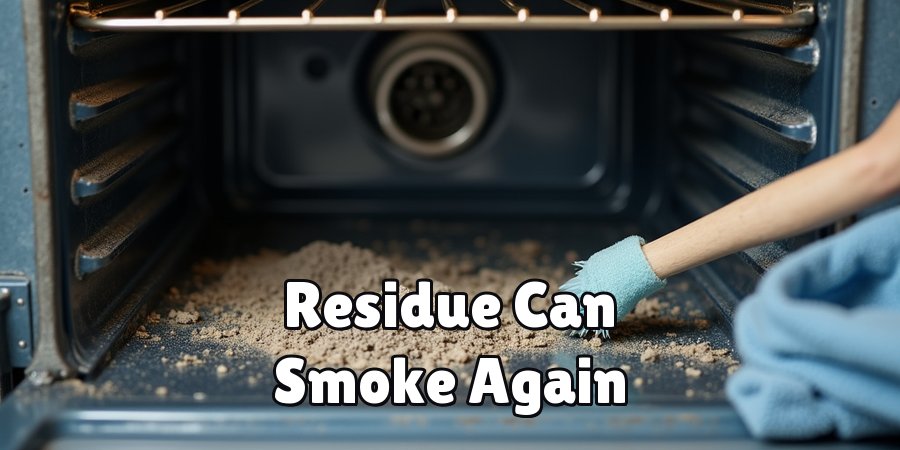
There’s a second, sneakier cause. Leftover residue from cleaning products, or the fine ash a self-cleaning cycle leaves behind, can smoke on your next bake.
Brand-new ovens sometimes do this too during the first few uses, as the manufacturing oils burn off. It usually settles on its own.
Pinning down the actual source may save you from treating the symptom while the real problem quietly stays put.
Materials Needed
Round up your supplies first. Nothing kills momentum like realizing halfway through that you’re out of baking soda.
Cleaning Supplies
- Baking soda
- White vinegar
- Dish soap
- Warm water
Tools and Equipment
- A spray bottle
- Microfiber cloths or sponges
- Rubber gloves
- A plastic or silicone scraper
- An old toothbrush or small scrub brush
- Paper towels
8 Simple Steps on How to Clean a Smoky Oven
Step 1: Turn Off and Cool the Oven
Safety first, always. The oven needs to be switched off and cool enough to touch before you start. Got a gas model? Double-check the gas supply is off. A hot or still-running oven is both a burn risk and, frankly, far harder to clean well.
Step 2: Remove the Racks and Loose Debris
Pull the racks out and set them aside for their own wash later.
Then grab a plastic scraper, or just your gloved hands, and clear away the loose stuff on the floor of the oven: crumbs, charred scraps, bigger chunks of debris.
A pass with paper towels catches the finer particles. This one step, on its own, often cuts the smoke down noticeably.
Step 3: Make a Baking Soda Paste
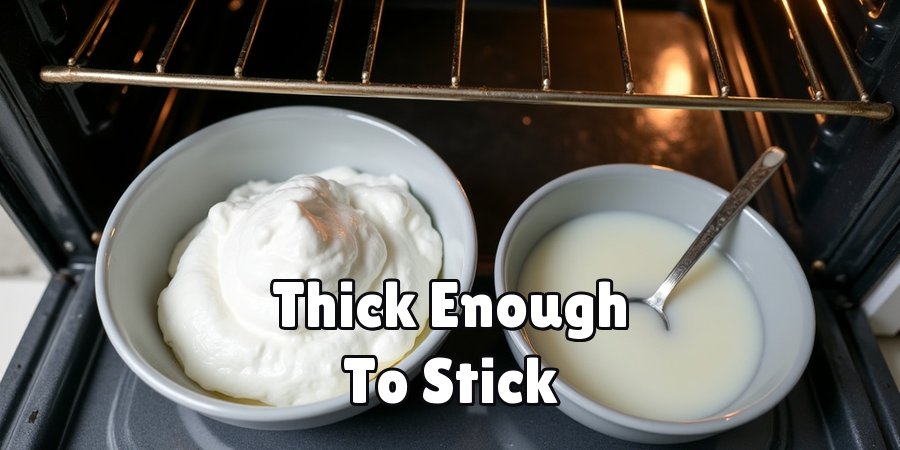
Stir roughly half a cup of baking soda into a few tablespoons of water until you get a spreadable paste. Tweak the ratio to taste, so to speak: thick enough to stick to a vertical surface without sliding off. Baking soda works as a mild abrasive, lifting grease without leaving scratches behind.
Step 4: Coat the Interior
Spread the paste around the inside, paying extra attention to the greasy patches and anywhere residue has baked on hard. Steer clear of the heating elements and any exposed wiring. Gloves on. Once everything’s coated, the paste needs a stretch of time to start breaking down the grime.
Step 5: Let It Sit
Give the paste at least 20 minutes. For an oven that’s been neglected a while, several hours or an overnight rest works considerably better. As it sits, the paste loosens the stubborn grease, which means far less scrubbing for you down the line.
Step 6: Clean the Racks Separately
While the paste does its work, turn to the racks. Soak them in warm, soapy water, either in the sink or the bathtub if they won’t fit.
For the tough spots, sprinkle on some baking soda and go at them with an old toothbrush. Rinse well and leave them to dry.
Trapped residue on racks can be a smoke source of its own, so this matters more than it seems.
Step 7: Wipe and Spray with Vinegar
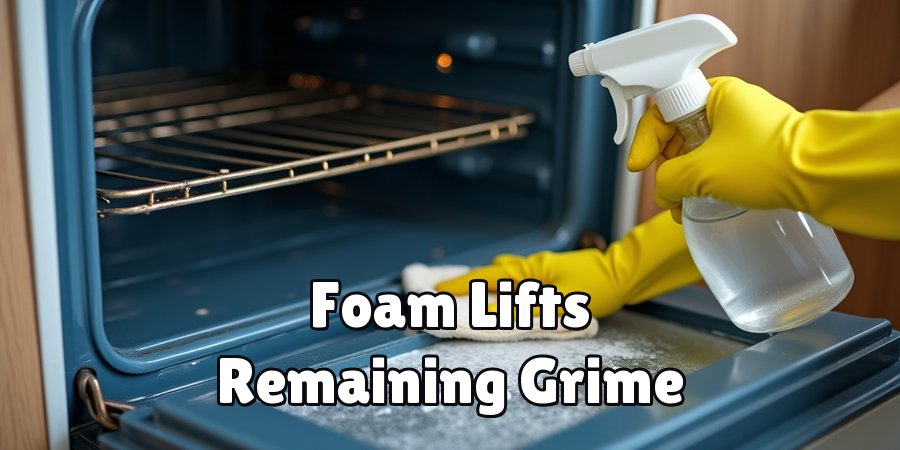
Take a damp microfiber cloth and wipe the baking soda paste away. As you work, mist white vinegar over whatever residue remains. The vinegar meets the leftover baking soda and foams up, which helps lift the last of the grime. Keep going until the surfaces come clean and the paste is entirely gone.
Step 8: Rinse and Dry
Finish with a clean, damp cloth to lift any lingering baking soda or vinegar. Dry the interior properly with paper towels or a dry cloth. Slide the cooled, dry racks back in. Then run the oven empty at a low temperature for about 15 minutes to confirm the smoke is actually gone.
Work through these steps on how to clean a smoky oven in order. Block out a couple of hours, since a few stages need the cleaning paste to sit and do its thing while you wait.
Common Mistakes to Avoid
The most common slip is cleaning while the oven’s still warm. It’s dangerous, and heat also makes cleaning solutions evaporate before they’ve had a chance to work. Too much water is another one.
Soak things, a nd the moisture can creep into electrical components, which is a repair you don’t want. Damp cloths, not dripping ones.
Plenty of people also grab the harshest chemical cleaner on the shelf, and those strong fumes can actually make the smoke and smell worse next time you cook.
Leave the heating elements alone, too, since scrubbing them directly may damage them. And don’t rush.
The baking soda earns its keep only if you give it time, which spares you a lot of elbow grease.
Do You Need to Use Professionals?
For ordinary grease and grime, cleaning the oven yourself is entirely doable and keeps money in your pocket. A DIY clean every few months holds the smoke off and, as a bonus, appears to extend the appliance’s working life. If basic cleaning tasks don’t faze you, professional help probably isn’t warranted.
There are exceptions, though. Years of neglected buildup, a self-clean cycle that’s stopped working right, or a suspected mechanical fault behind the smoke: these are the moments a professional oven cleaner or technician earns their fee. They bring industrial-grade products and the experience to handle the nastier cases without causing more harm.
Frequently Asked Questions
Q1: Why Does My Oven Smoke Even After Cleaning?
A1: Leftover cleaning product or trapped moisture burning off could be the reason. Run the oven empty at a low temperature to burn away any residue. If the smoke sticks around, it may point to a faulty heating element or a gas issue, and that’s worth a professional’s eyes.
Q2: How Often Should I Clean My Oven?
A2: For most households, a clean every three months keeps smoke and buildup in check. Cook a lot, or deal with frequent spills? A monthly wipe-down of the interior stops grease from stacking up and lowers the odds of smoke.
Q3: Can I Use Oven Cleaner Spray Instead of Baking Soda?
A3: You can. Commercial oven sprays work well and act fast. The trade-off is strong chemicals and fumes, so open a window and wear gloves. Baking soda and vinegar make a gentler, more natural pairing that holds up well for routine cleaning.
Q4: How Often Should I Clean My Oven?
A4: The frequency of oven cleaning depends on how often you use your oven and the type of food you cook. For heavy usage and frequent spills, a monthly cleaning is recommended to prevent buildup of grease and smoke.
For lighter usage, every three months should suffice. It is important to regularly clean your oven to maintain its efficiency and prevent any potential health hazards from built-up residues.
Additionally, it can be helpful to do a quick wipe-down after each use to prevent any spills or crumbs from accumulating and becoming harder to clean later on.
Keep in mind that using natural cleaners like baking soda and vinegar can also make for an effective yet gentle way of keeping your oven clean.
Conclusion
A smoky oven nearly always comes down to built-up grease and food debris, and now the fix is in your hands. Work through these eight steps on how to clean a smoky oven, clear out the residue behind the smoke, and you’re back to cooking without that scorched smell settling into the kitchen.
Treat oven cleaning as a regular habit rather than a dreaded annual event, and smoke rarely gets a foothold. Keep your supplies somewhere easy to reach, wipe up spills while they’re fresh, and the oven repays you with cleaner air and better-tasting meals for years.

About
Ethan Wrenford is a dedicated home appliance specialist with years of hands-on experience in appliance troubleshooting, maintenance, repair, and DIY diagnostics. His professional focus lies in combining practical repair knowledge with simple, easy-to-follow solutions, helping homeowners understand common appliance problems and confidently identify potential causes at home. As an author at ApplianceWhy, Ethan shares practical knowledge on home appliance repair, DIY appliance diagnostics, maintenance, troubleshooting, appliance care, and everyday solutions for common household appliance issues.
Education
Portland Community College (Portland, USA)
Associate Degree in Appliance Technology & Residential Systems
- Focused on residential appliance systems, electrical fundamentals, mechanical components, and appliance troubleshooting.
- Developed practical skills in appliance diagnostics, component testing, electrical safety, and repair procedures.
- Gained hands-on experience working with refrigerators, washing machines, dryers, dishwashers, ovens, ranges, and other household appliances.
Oregon Institute of Technology (Klamath Falls, USA)
Bachelor’s in Applied Electronics & Technology
- Specialized in electrical systems, electronic controls, sensors, motors, and residential equipment.
- Studied diagnostic techniques for identifying electrical, mechanical, and component-related appliance problems.
- Completed practical projects involving appliance control systems, troubleshooting methods, preventive maintenance, and repair fundamentals.
Publications and Impact
Through ApplianceWhy, Ethan shares practical insights into home appliance repair, DIY diagnostics, maintenance, troubleshooting, and appliance care. His writing focuses on turning confusing appliance problems into simple, understandable steps that homeowners can follow safely.
Ethan covers everything from diagnosing a refrigerator that is not cooling and a washing machine that will not drain to troubleshooting dryers, dishwashers, ovens, microwaves, and other common household appliances. His content helps readers understand appliance symptoms, identify possible causes, perform basic diagnostic checks, and determine when professional repair may be necessary.
Through his work, Ethan aims to bridge the gap between professional appliance repair knowledge and everyday homeowners—making appliance troubleshooting more approachable, practical, and accessible to everyone who wants to diagnose smarter, maintain better, and keep their appliances running longer.