

Your washing machine works hard, load after load, to keep your clothes fresh and clean.
But when it starts leaving water in the drum or making strange noises during the drain cycle, the culprit is often the drain pump.
This small but mighty part pushes dirty water out of your machine, and when it clogs or fails, everything grinds to a halt.
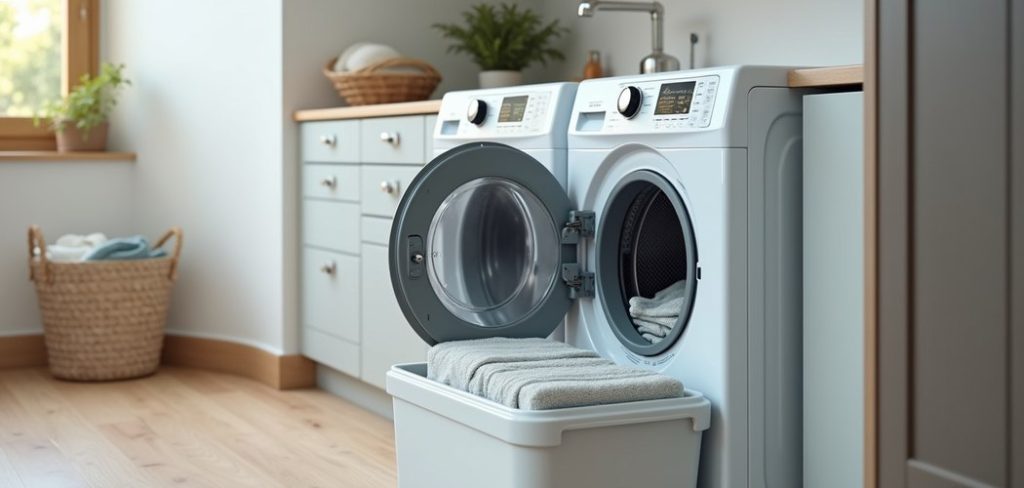
Learning how to check drain pump on washing machine can save you money, time, and the frustration of dealing with soggy laundry. The good news? You don’t need to be a professional appliance technician to inspect it. With a few basic tools and a little patience, you can find out exactly what’s going on.
This guide walks you through everything, step by step, so you feel confident tackling the job on your own.
What Are the Benefits?
Checking your washing machine’s drain pump comes with plenty of upsides. Here are the main reasons it’s worth your time:
- Save money on repairs. A professional service call can cost a lot. Inspecting the pump yourself often reveals a simple clog you can clear in minutes, no technician required.
- Prevent bigger problems. A blocked or failing pump can strain the motor and other parts. Catching issues early stops small troubles from turning into expensive breakdowns.
- Avoid water damage. A pump that can’t drain properly may cause leaks or overflows. Regular checks protect your floors, walls, and anything stored nearby.
- Extend your machine’s lifespan. Keeping the pump clean and free of debris helps your washer run smoothly for years longer.
- Better cleaning results. When water drains fully, your clothes rinse properly and come out fresher. A clogged pump can leave detergent residue behind.
- Peace of mind. Knowing how your machine works and how to check it puts you in control. You’ll spot warning signs before they become emergencies.
What Will You Need?
Before you start, gather these tools and materials. Having everything ready makes the job faster and cleaner:
Keep everything within easy reach. You may also want to work with a friend nearby, especially if you need to move the machine.
- A shallow tray or large bowl to catch water
- Old towels or rags
- A flathead screwdriver
- A Phillips screwdriver
- A pair of pliers
- A flashlight
- Protective gloves
- A soft brush or old toothbrush for cleaning
- Your washing machine’s user manual (if available)
- A small bucket
10 Easy Steps on How to Check Drain Pump on Washing Machine
Step 1: Unplug the Washing Machine
Safety always comes first. Before you touch anything inside the machine, pull the power plug from the wall socket. This protects you from electric shock while you work.
If your washer is hardwired or hard to reach, switch off the circuit breaker that controls it. Never skip this step, even if you think the job will only take a minute.
Water and electricity are a dangerous mix, so make sure the machine is completely powered down before moving forward.
Step 2: Turn Off the Water Supply
Next, shut off the water valves connected to your washing machine. You’ll usually find two hoses at the back, one for hot water and one for cold. Turn the valves clockwise until they stop.
This prevents water from flowing while you inspect the pump. If your valves are stiff, use a gentle grip and avoid forcing them.
Turning off the supply keeps your work area dry and stops any surprise leaks during the process.
Step 3: Prepare Your Work Area
Pull the washing machine away from the wall so you have room to move around it. Lay down old towels on the floor to soak up any spills.
Place your shallow tray or bucket nearby, since draining the pump often releases leftover water. Good lighting matters too, so keep your flashlight handy.
A tidy, well-lit space makes the whole job easier and helps you avoid slipping on wet floors. Take a moment to organize your tools before you begin.

Step 4: Locate the Drain Pump
Most washing machines house the drain pump behind a small access panel at the front bottom of the unit. On some models, you’ll need to tip the machine back or remove the rear panel instead.
Check your user manual if you’re unsure where to look. Front-loading washers usually have a kickplate you can pop off with a flathead screwdriver. Take your time locating the pump so you don’t accidentally loosen the wrong part.
Once you spot it, you’re ready to open things up.
Step 5: Open the Access Panel
Use your screwdriver to remove the screws holding the access panel or kickplate in place. Set the screws in a small container so you don’t lose them. Gently pull the panel away and set it aside.
Behind it, you’ll typically see the drain pump, a filter, and a drain hose. Some machines have clips instead of screws, so press or slide them to release the cover.
Work slowly and carefully to avoid cracking any plastic parts as you open the compartment.
Step 6: Drain the Remaining Water
Before removing anything, prepare for water. Place your tray or bucket directly under the pump area. Many washers have a small drain hose near the filter that you can pull out and uncap to release trapped water.
Let it flow into your container fully. If your model doesn’t have a drain hose, opening the filter slowly will let the water out. Keep your towels ready to mop up any overflow.
Draining first keeps the mess to a minimum when you take the pump apart.
Step 7: Remove and Inspect the Filter
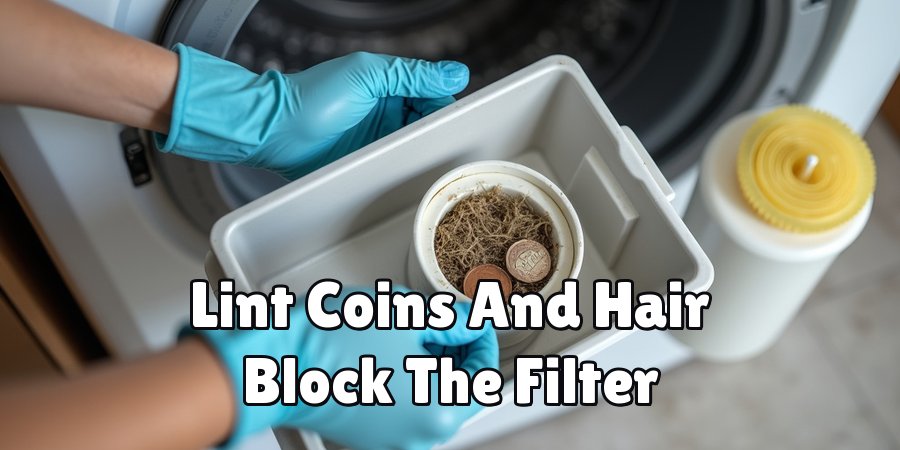
The drain pump filter often traps lint, coins, hair, and other debris. Twist the filter counterclockwise to unscrew it, then pull it out gently. Hold it over your tray, as more water may spill out.
Look closely at what you find inside. A dirty, clogged filter is a common reason for drainage problems. Rinse the filter under running water and use your soft brush to clear away stubborn gunk.
Check the filter housing too, and remove any objects stuck inside before moving on.
Step 8: Examine the Drain Pump Impeller
With the filter out, shine your flashlight into the pump opening to see the impeller. This is the small fan-like part that pushes water through the system. Reach in carefully with gloved fingers and give it a gentle spin.
It should turn freely. If it feels stuck, jammed, or grinds when you move it, something may be blocking it or the pump may be worn out. Look for tangled threads, broken plastic bits, or small items wrapped around the blades.
Clear away anything you find.
Step 9: Check the Hoses and Connections
Follow the drain hose from the pump and inspect it along its length. Look for kinks, cracks, or blockages that could stop water from flowing. Disconnect the hose if needed and run water through it to confirm it’s clear.
Check the clamps and connections to make sure nothing is loose. A blocked or damaged hose can mimic a broken pump, so this step is important.
Tighten any loose fittings and replace hoses that show signs of wear or splitting before you reassemble everything.
Step 10: Reassemble and Test the Machine
Once everything looks clean and clear, put it all back together. Screw the filter back in firmly, reconnect any hoses, and replace the access panel with its screws. Push the machine back into place and reconnect the water supply and power.
Run a short rinse or drain cycle to test your work. Watch and listen carefully. The water should drain smoothly without odd noises. If it drains well, you’ve fixed the problem.
If issues remain, the pump itself may need replacing by a professional.
5 Things You Should Avoid
Steer clear of these common mistakes to keep yourself safe and your machine in good shape:

- Skipping the power disconnect. Never inspect the pump while the machine is plugged in. Working around water with live electricity risks serious injury.
- Forgetting to drain the water first. Opening the filter without a tray or bucket ready leads to a flooded floor and a bigger cleanup job.
- Using excessive force. Yanking on hoses, filters, or the impeller can crack parts and cause new problems. Always work gently and slowly.
- Ignoring the user manual. Every machine is a little different. Guessing where parts are located can waste time or lead to damaging the wrong component.
- Reassembling loosely. Failing to tighten the filter, hoses, or clamps properly can cause leaks the next time you run a cycle. Double-check every connection.
Conclusion
How to check drain pump on washing machine doesn’t have to be a stressful chore. With the right tools and this simple step-by-step approach, you can spot and fix common drainage issues in no time. Regular checks save you money, prevent water damage, and keep your machine running smoothly for years to come.
Remember to always unplug the power first, drain the water before opening anything, and handle each part with care. If you’ve cleared the filter, checked the hoses, and the problem still lingers, don’t hesitate to call a professional for a closer look.
Taking a little time now to understand and maintain your drain pump pays off with cleaner clothes, fewer breakdowns, and real peace of mind. Now you’re ready to tackle the job with confidence.

About
Ethan Wrenford is a dedicated home appliance specialist with years of hands-on experience in appliance troubleshooting, maintenance, repair, and DIY diagnostics. His professional focus lies in combining practical repair knowledge with simple, easy-to-follow solutions, helping homeowners understand common appliance problems and confidently identify potential causes at home. As an author at ApplianceWhy, Ethan shares practical knowledge on home appliance repair, DIY appliance diagnostics, maintenance, troubleshooting, appliance care, and everyday solutions for common household appliance issues.
Education
Portland Community College (Portland, USA)
Associate Degree in Appliance Technology & Residential Systems
- Focused on residential appliance systems, electrical fundamentals, mechanical components, and appliance troubleshooting.
- Developed practical skills in appliance diagnostics, component testing, electrical safety, and repair procedures.
- Gained hands-on experience working with refrigerators, washing machines, dryers, dishwashers, ovens, ranges, and other household appliances.
Oregon Institute of Technology (Klamath Falls, USA)
Bachelor’s in Applied Electronics & Technology
- Specialized in electrical systems, electronic controls, sensors, motors, and residential equipment.
- Studied diagnostic techniques for identifying electrical, mechanical, and component-related appliance problems.
- Completed practical projects involving appliance control systems, troubleshooting methods, preventive maintenance, and repair fundamentals.
Publications and Impact
Through ApplianceWhy, Ethan shares practical insights into home appliance repair, DIY diagnostics, maintenance, troubleshooting, and appliance care. His writing focuses on turning confusing appliance problems into simple, understandable steps that homeowners can follow safely.
Ethan covers everything from diagnosing a refrigerator that is not cooling and a washing machine that will not drain to troubleshooting dryers, dishwashers, ovens, microwaves, and other common household appliances. His content helps readers understand appliance symptoms, identify possible causes, perform basic diagnostic checks, and determine when professional repair may be necessary.
Through his work, Ethan aims to bridge the gap between professional appliance repair knowledge and everyday homeowners—making appliance troubleshooting more approachable, practical, and accessible to everyone who wants to diagnose smarter, maintain better, and keep their appliances running longer.