

Thermostatic radiator valves, or TRVs, are those unassuming little fittings that pull more weight than most people realize.
Their job is to regulate how much hot water reaches each radiator, which is what lets you keep the bedroom cool while the living room stays toasty. When one goes wrong, the signs tend to be obvious.
A radiator that stubbornly stays cold. One that runs hot no matter where you set the dial. Or worse, a slow drip pooling around the base.
Here’s the reassuring part. Swapping out a TRV is well within reach for most reasonably handy homeowners. You won’t need a plumbing qualification, and you certainly won’t need a van packed with obscure tools.
Give yourself an hour, a little patience, and the right bits and pieces, and you can have a faulty valve replaced before the kettle’s gone cold twice.
What follows is the full walkthrough.
I’ll explain what a TRV actually does, run through the kit you’ll want on hand, and take you through seven steps on how to change trv that build on each other.
Toward the end, I’ve flagged the mistakes people tend to make, the moments when phoning a professional is the wiser call, and a rough sense of what it all costs.
Understanding What a TRV Does and Why It Fails
A thermostatic radiator valve adjusts the flow of hot water into a radiator according to how warm the room already is. Tucked inside the valve head sits a small capsule filled with wax or liquid.
As the room heats up, that capsule expands and gradually pinches off the flow. When things cool down again, it contracts and opens back up, letting more hot water through.
It’s a neat bit of self-regulating design, and it does quietly cut down on the energy you’d otherwise waste heating rooms nobody’s using.
Valves don’t last forever, though. The pin inside the body can seize up. The head can lose its responsiveness over the years. Seals perish and begin to weep.
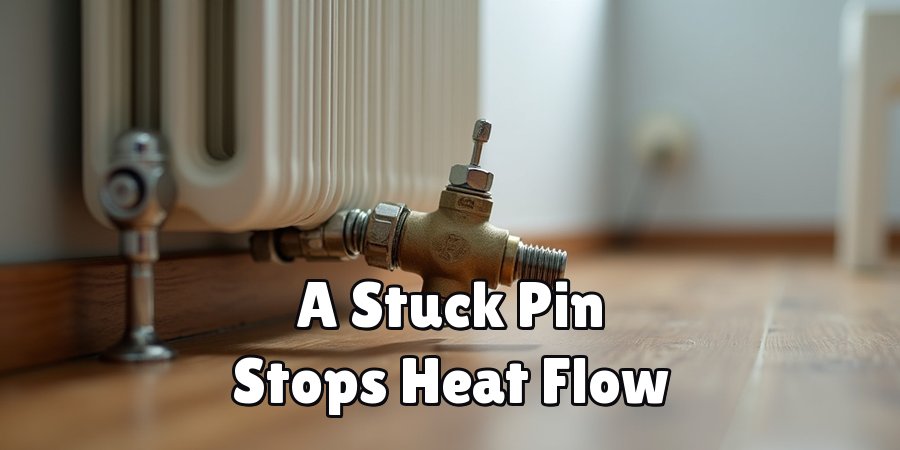
A stuck pin appears to be the usual suspect behind a radiator that refuses to warm up or won’t cool back down. Sometimes you can free it or give it a clean and buy yourself more time.
When that stops working, replacing the whole valve is generally the more sensible route than fiddling endlessly.
Tools and Materials Needed
Round everything up before you begin and lay it out somewhere within reach. It sounds obvious, but scrambling for a spanner mid-job with water dripping is nobody’s idea of fun.
Adjustable Spanner and Pipe Wrench
These handle loosening and tightening the nuts that join the valve to the pipework. Two spanners really do make life easier here, since you can hold one nut still while you work the other.
New TRV Unit
Pick a replacement that matches your existing pipe size, which is usually 15mm. Double-check whether your setup needs an angled or a straight valve before you buy, because getting this wrong means a return trip to the shop.
PTFE Tape
This thin plumber’s tape wraps around threaded joints to form a watertight seal. It’s the cheap insurance that stops leaks appearing later.
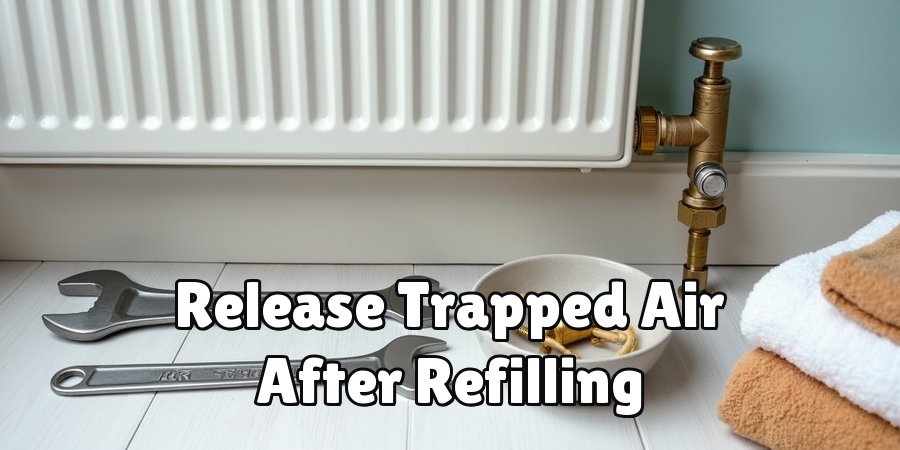
Bucket, Towels, and a Bowl
Radiators cling to water even after you think they’re drained. Keep these close to catch the inevitable drips and save your flooring.
Radiator Bleed Key
You’ll want this to release trapped air once the new valve is in and the system’s refilled.
7 Simple Steps on How to Change TRV
Work through these in order. The tightening stage in particular rewards a slow hand, so resist the urge to rush.
Step 1: Turn Off Your Heating System
Switch off the boiler and let the radiators go completely cold. A hot system can scald you, and warm water is much harder to control as it drains.
Step 2: Isolate the Radiator
Close the TRV at one end and the lockshield valve at the other. Count how many turns you make on the lockshield and jot the number down somewhere you won’t lose it. You’ll need it to rebalance the system afterward.
Step 3: Drain the Radiator
Set a bowl or bucket underneath the valve. Loosen the union nut slowly, then open the bleed valve at the top to let air in, which helps the water drain steadily into your container rather than gurgling out in bursts.
Step 4: Remove the Old TRV
With the water out, undo the nuts holding the old valve. Brace the pipe with your second spanner as you go. Skip this, and you risk twisting or bending the pipework, which turns a simple job into an expensive one.
Step 5: Fit the New TRV
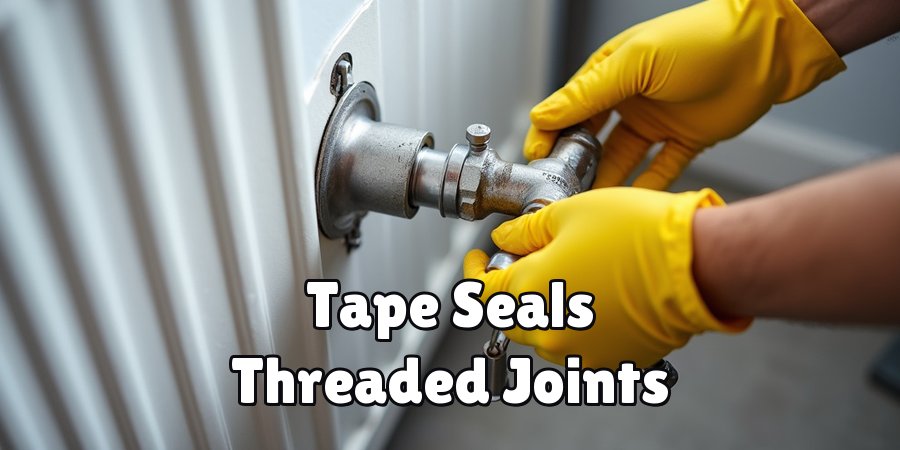
Wrap PTFE tape clockwise around the threaded connections. Sit the new valve in position, hand-tighten the nuts first, then finish off with your spanner. Check that the arrow on the valve body points the same way the water flows. This detail catches people out constantly.
Step 6: Reconnect and Refill
Reopen the lockshield to the setting you noted earlier, then slowly reopen the TRV. Fire the heating back up and let the radiator refill.
Step 7: Bleed and Check for Leaks
Use the bleed key to release trapped air until water starts to appear. Dry off every joint and keep watching for the smallest bead of moisture. If you spot any, nip the nut up gently. Gently being the operative word.
Following these steps on how to change TRV valves will help you save money on your energy bills and ensure that your radiators are working efficiently.
Common Mistakes to Avoid
The classic error is not draining the radiator properly before pulling the valve off. What follows is a slosh of grimy black water across the floor and a cleanup that dwarfs the original job.
Overtightening comes a close second. It feels like you’re being thorough, but cranking the nuts too hard can crack fittings or strip threads, which produces the very leak you were trying to head off.
Forgetting to record the lockshield setting is another one that bites later. Skip that step and the balance of your whole heating system drifts out of whack, leaving some rooms toasty and others lukewarm. Then there’s fitting the valve backward.
The directional arrow exists for a reason, and a valve installed the wrong way round simply won’t regulate properly. My advice? Snap a quick photo before you touch anything.
A reference picture has saved more DIY jobs than any single tool.
Do You Need to Use Professionals?
For a straightforward swap on a radiator you can actually reach, most confident DIYers will be fine going it alone. If you can wield a spanner without hurting yourself, follow instructions patiently, and your pipework looks sound, there’s little reason to pay for labor you don’t need.
Some situations tip the balance the other way, though. Corroded pipes, awkward positioning, or older materials can all turn a quick job into a costly mishap, and a plumber’s experience earns its keep in those moments.
The same goes if your radiator has no valves to isolate it, since that may mean draining the entire system.
And if you’re simply not sure, a qualified heating engineer brings peace of mind and usually a guarantee on the work, which counts for something.
How Much Will It Cost to Change a TRV?
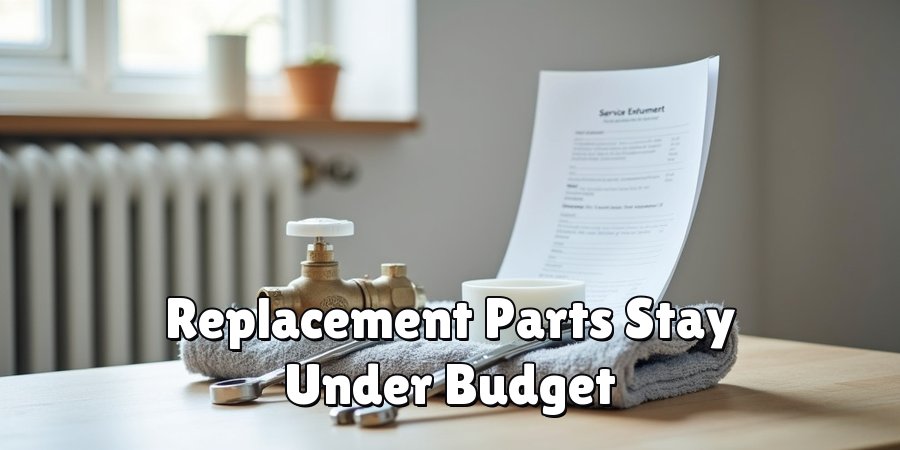
Doing it yourself is far and away the cheaper option. A replacement TRV tends to run between £10 and £30, depending on the brand and how fancy the head is. Throw in a couple of pounds for PTFE tape if your drawer’s run dry, and you’re still looking at under £40 for most standard jobs.
Bringing in a professional bumps the figure up, mostly because of labor.
A plumber will typically charge somewhere between £80 and £150 to supply and fit a single TRV, though that swings a fair bit depending on where you live and how fiddly the job proves.
Got several valves needing attention? Many tradespeople drop their per-valve rate when you do them all at once, so bundling the work can genuinely pay off.
Frequently Asked Questions
Can I Change a TRV Without Draining the Whole System?
Yes, in most cases. If your radiator has both a TRV and a lockshield valve, you can isolate that single radiator and drain only the water sitting inside it. Draining the entire heating system only becomes necessary when the radiator lacks these isolation valves.
How Long Does It Take to Replace a TRV?
A single valve swap usually takes somewhere between 30 and 60 minutes if you’re working carefully. Give yourself a bit more breathing room if it’s your first go, or if the old valve has seized and needs some persuading.
How Do I Know If My TRV Is Faulty?
The telltale signs include a radiator that stays cold, one that overheats no matter the setting, or water weeping around the valve. A stuck internal pin is frequently to blame. When freeing it doesn’t do the trick, replacement is the dependable fix.
Conclusion
Changing a TRV is a genuinely manageable weekend task, and one that pays you back in both comfort and slightly smaller heating bills. Move through it methodically.
Kill the heat, isolate and drain the radiator, then fit the new valve with a careful hand. Do that, and you’ll pocket the labor savings while picking up a skill worth having.
Take your time on it. Check every joint twice for leaks, and keep those lockshield notes somewhere safe for rebalancing afterward.
If any part of it starts to feel out of your depth, there’s genuinely no shame in handing it to a professional.
Either way, a properly working TRV means a warmer, more efficient home to settle into through the cold months. Thanks for reading this guide on how to change trv.

About
Ethan Wrenford is a dedicated home appliance specialist with years of hands-on experience in appliance troubleshooting, maintenance, repair, and DIY diagnostics. His professional focus lies in combining practical repair knowledge with simple, easy-to-follow solutions, helping homeowners understand common appliance problems and confidently identify potential causes at home. As an author at ApplianceWhy, Ethan shares practical knowledge on home appliance repair, DIY appliance diagnostics, maintenance, troubleshooting, appliance care, and everyday solutions for common household appliance issues.
Education
Portland Community College (Portland, USA)
Associate Degree in Appliance Technology & Residential Systems
- Focused on residential appliance systems, electrical fundamentals, mechanical components, and appliance troubleshooting.
- Developed practical skills in appliance diagnostics, component testing, electrical safety, and repair procedures.
- Gained hands-on experience working with refrigerators, washing machines, dryers, dishwashers, ovens, ranges, and other household appliances.
Oregon Institute of Technology (Klamath Falls, USA)
Bachelor’s in Applied Electronics & Technology
- Specialized in electrical systems, electronic controls, sensors, motors, and residential equipment.
- Studied diagnostic techniques for identifying electrical, mechanical, and component-related appliance problems.
- Completed practical projects involving appliance control systems, troubleshooting methods, preventive maintenance, and repair fundamentals.
Publications and Impact
Through ApplianceWhy, Ethan shares practical insights into home appliance repair, DIY diagnostics, maintenance, troubleshooting, and appliance care. His writing focuses on turning confusing appliance problems into simple, understandable steps that homeowners can follow safely.
Ethan covers everything from diagnosing a refrigerator that is not cooling and a washing machine that will not drain to troubleshooting dryers, dishwashers, ovens, microwaves, and other common household appliances. His content helps readers understand appliance symptoms, identify possible causes, perform basic diagnostic checks, and determine when professional repair may be necessary.
Through his work, Ethan aims to bridge the gap between professional appliance repair knowledge and everyday homeowners—making appliance troubleshooting more approachable, practical, and accessible to everyone who wants to diagnose smarter, maintain better, and keep their appliances running longer.